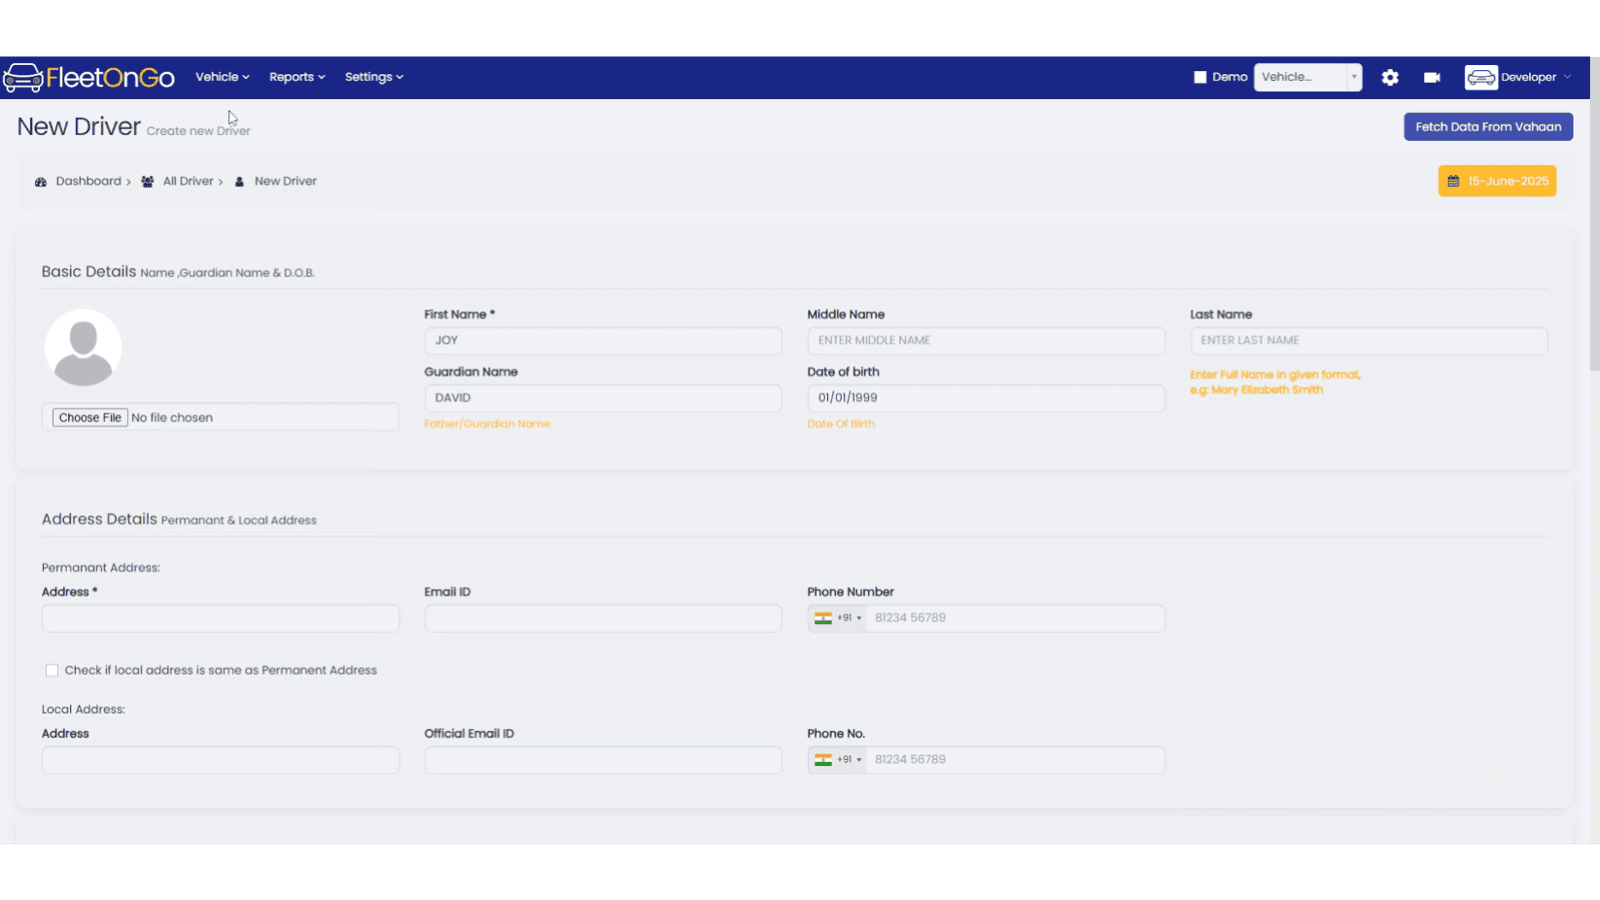
New Driver
Add New Driver.
This guide will walk you through the process of adding a new driver in Fleetongo.
Go to app.fleetongo.com
1. Introduction
From accessing the driver management section to entering driver details and saving changes, these instructions will help you seamlessly navigate through the process.
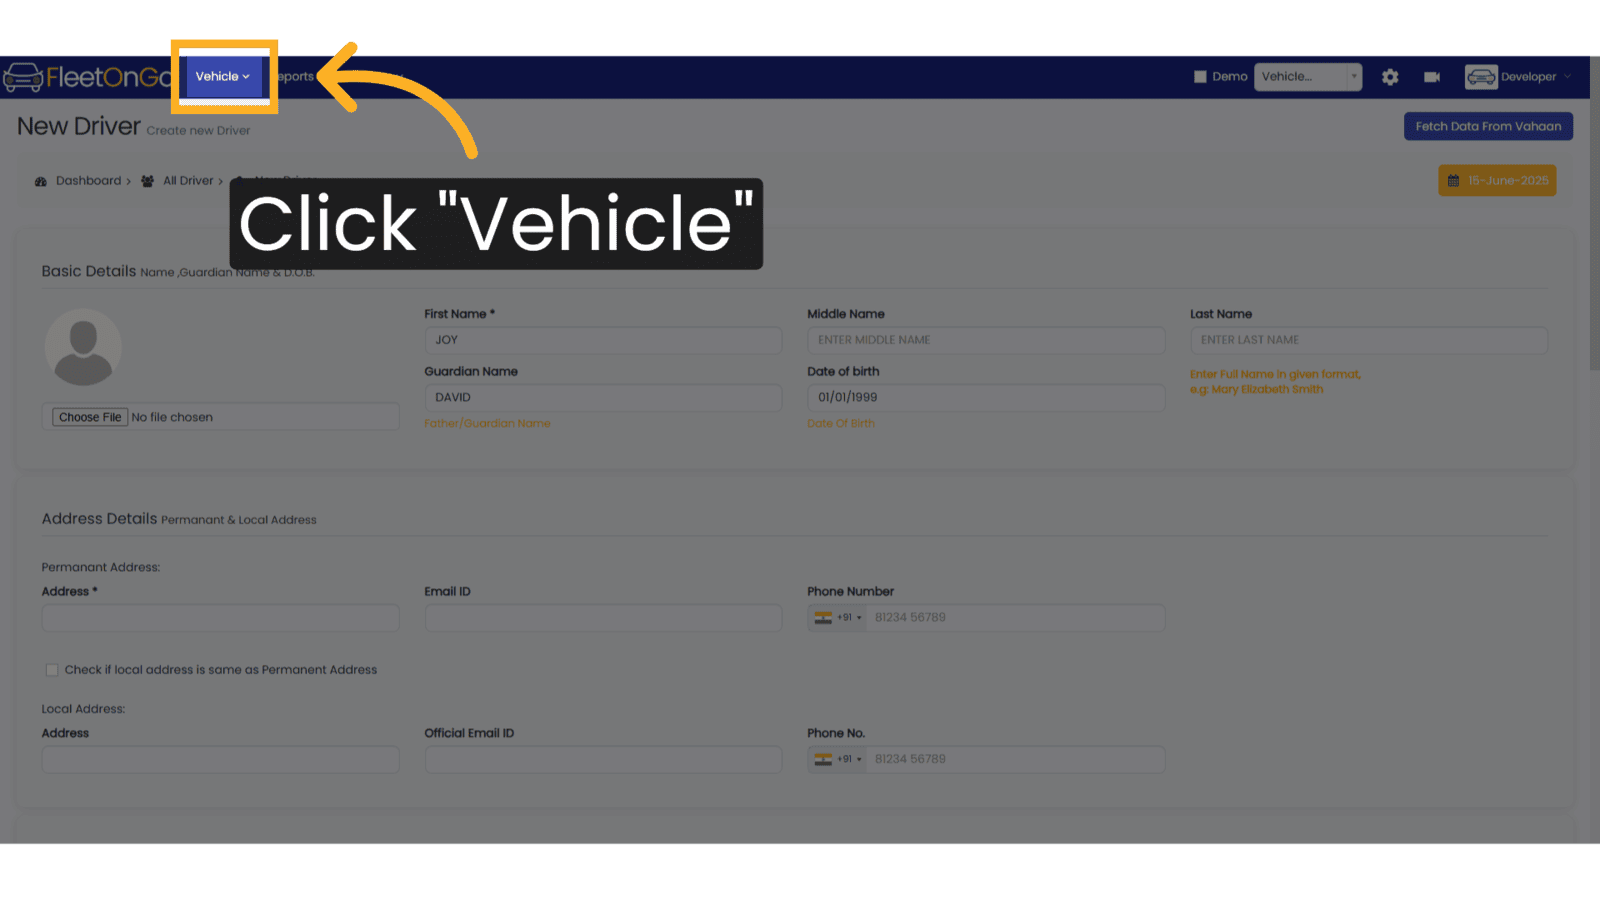
2. Click "Vehicle"
Navigate to the "Vehicle" section.
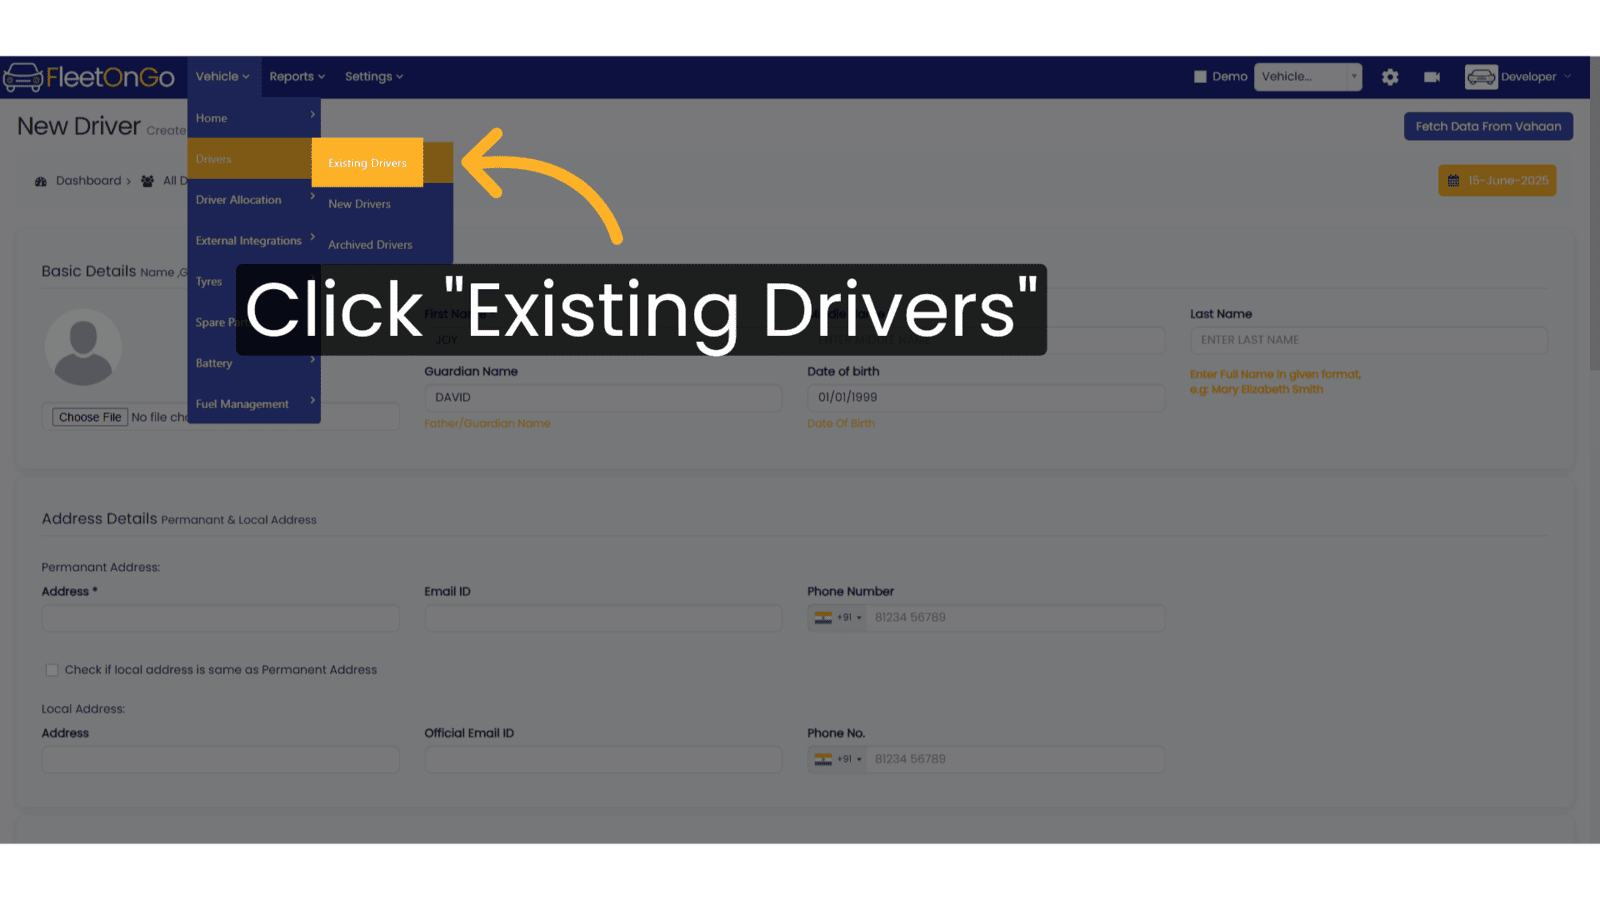
3. Click "Existing Drivers"
Access the "Existing Drivers" tab.
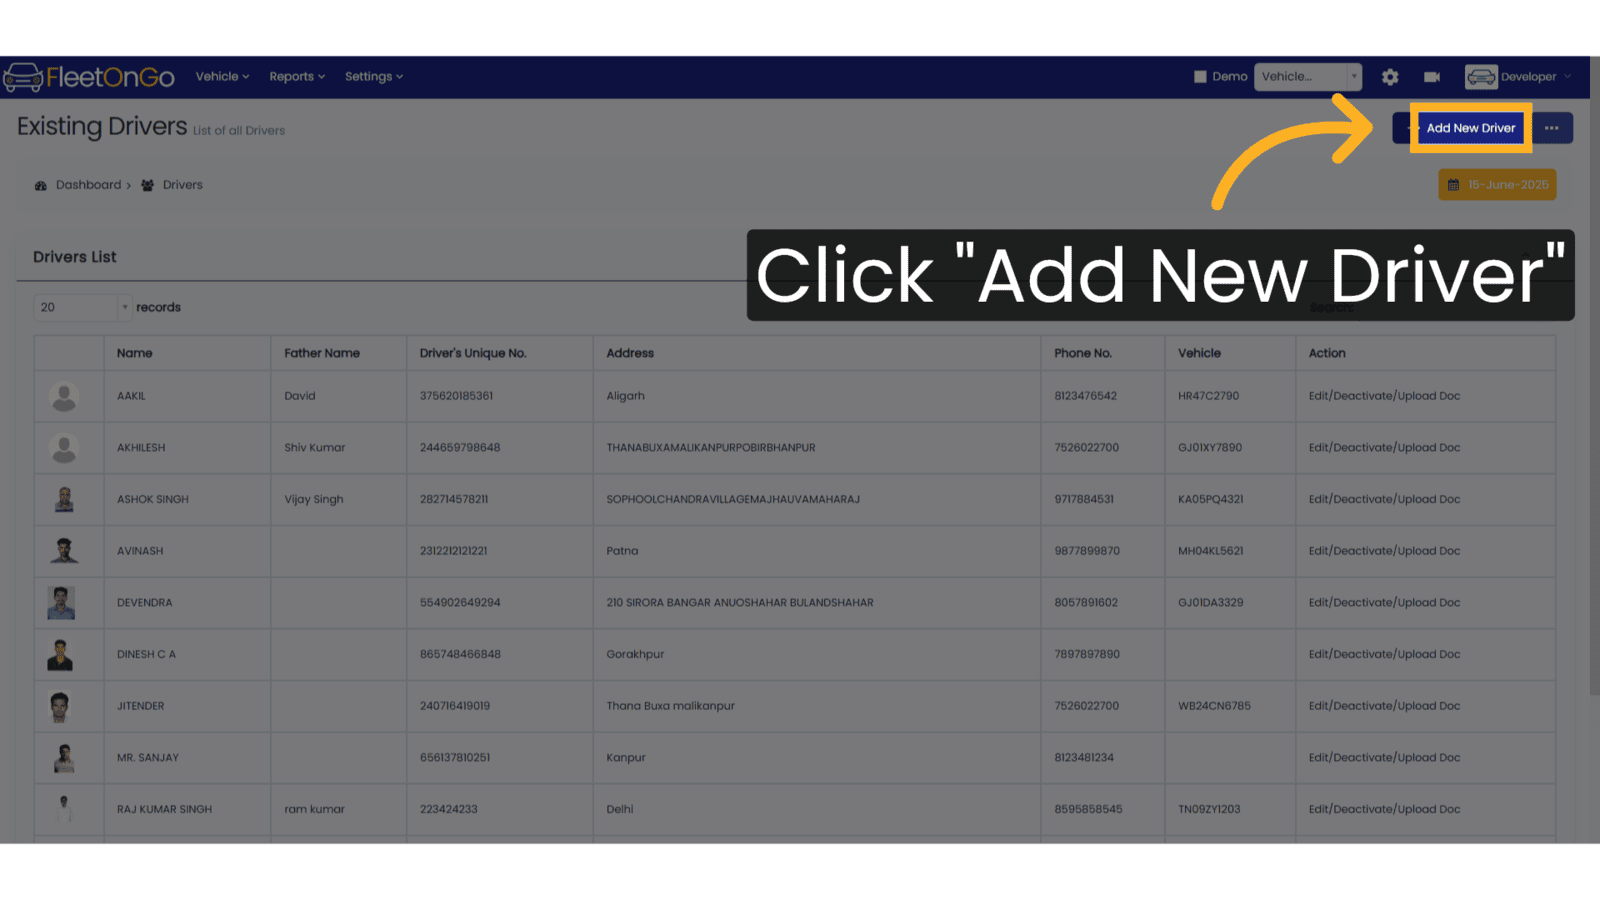
4. Click "Add New Driver"
Initiate the process to add a new driver.
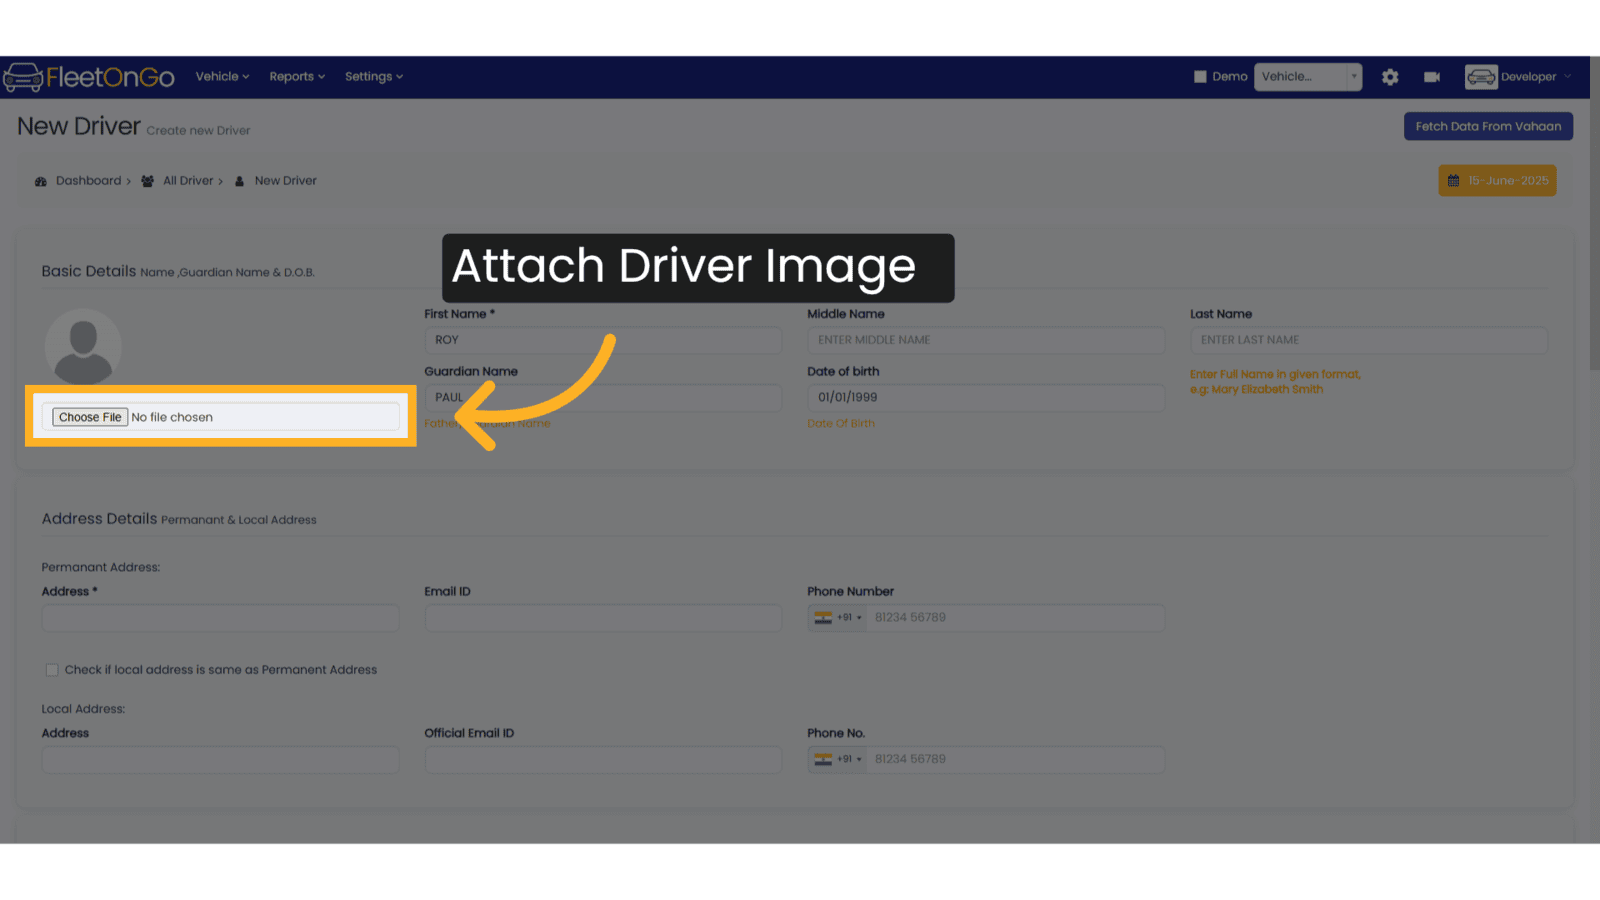
5. Add Driver Image
Click to attach Driver Image.
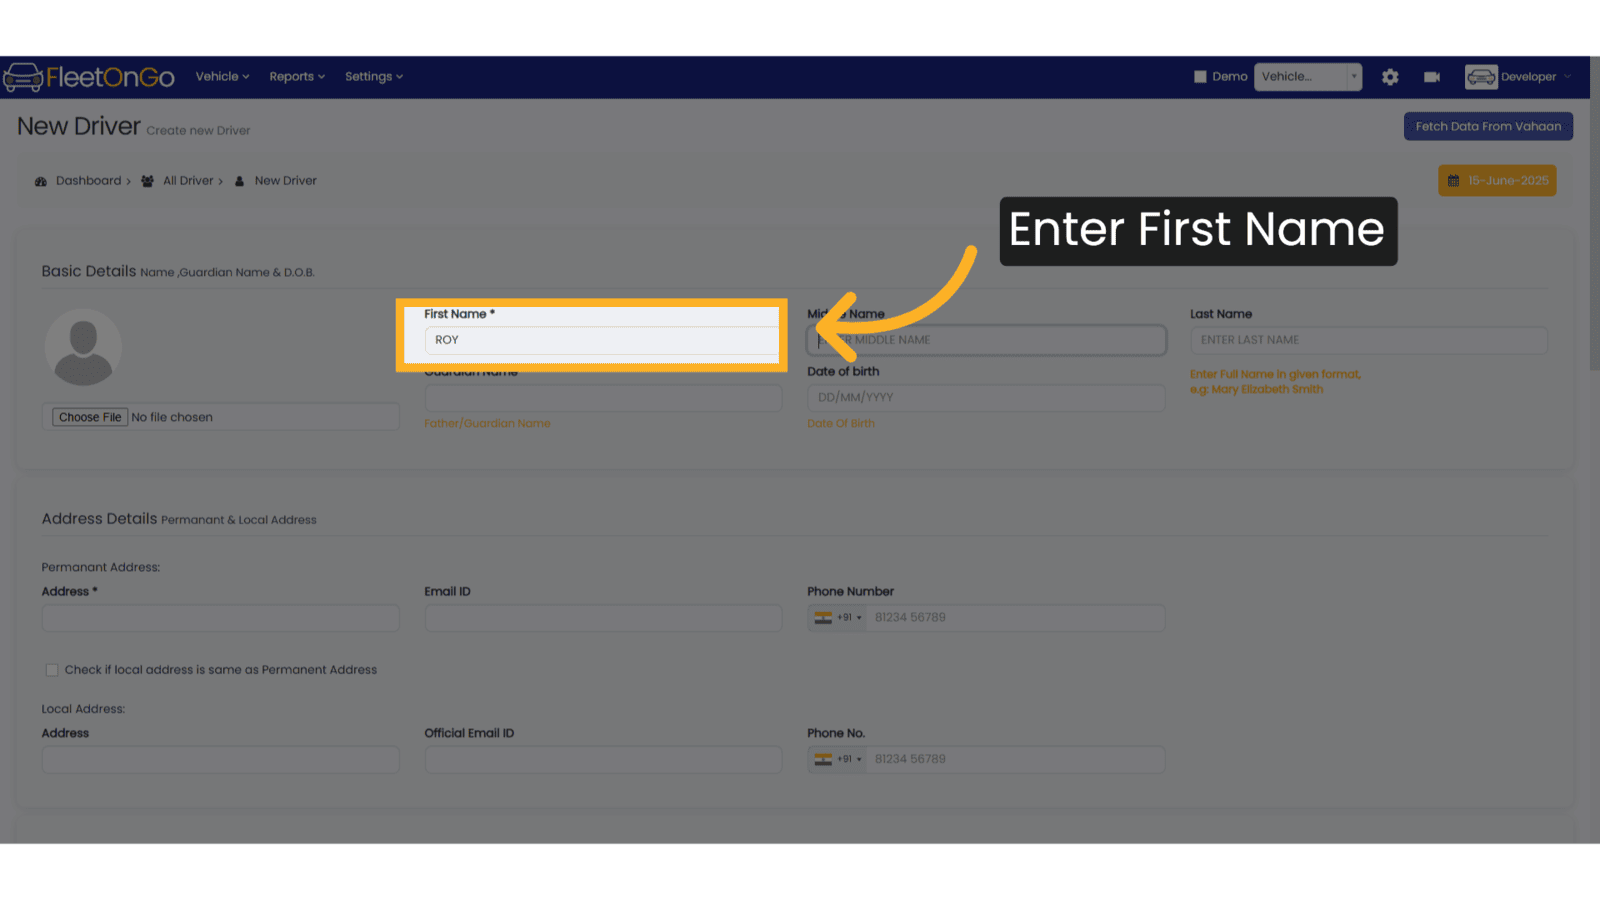
6. Enter Driver Name
Enter Drivers First Name, Middle Name and Last Name
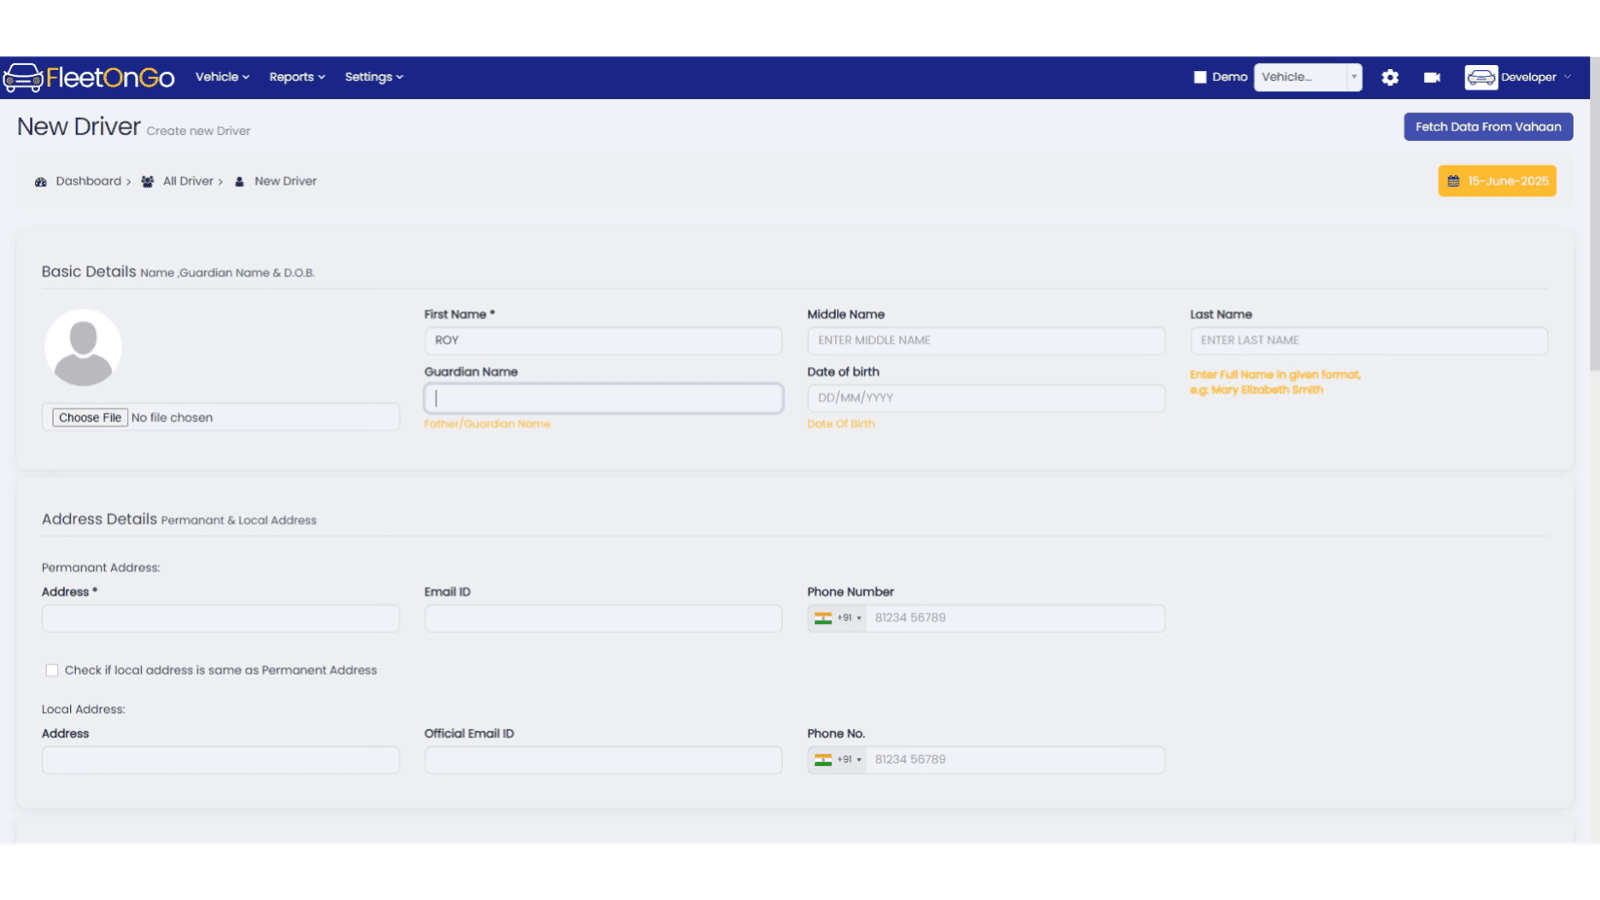
7. Enter Guardian Name
Enter Guardian Name of Driver
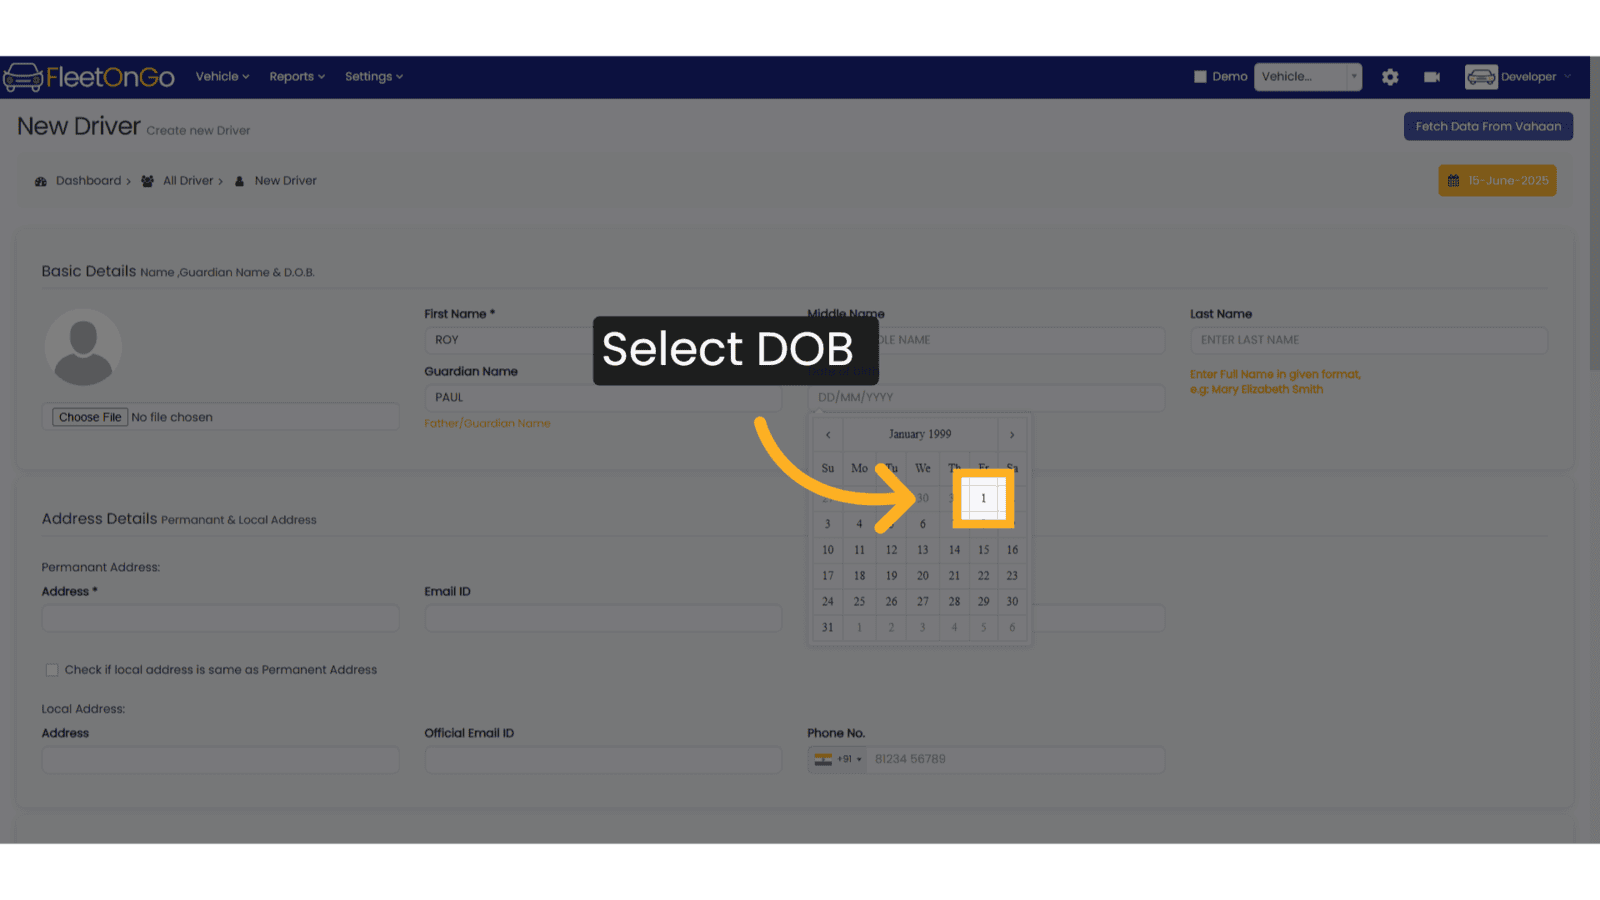
8. Select Date of Birth
Use the Calendar to enter date of birth of Driver
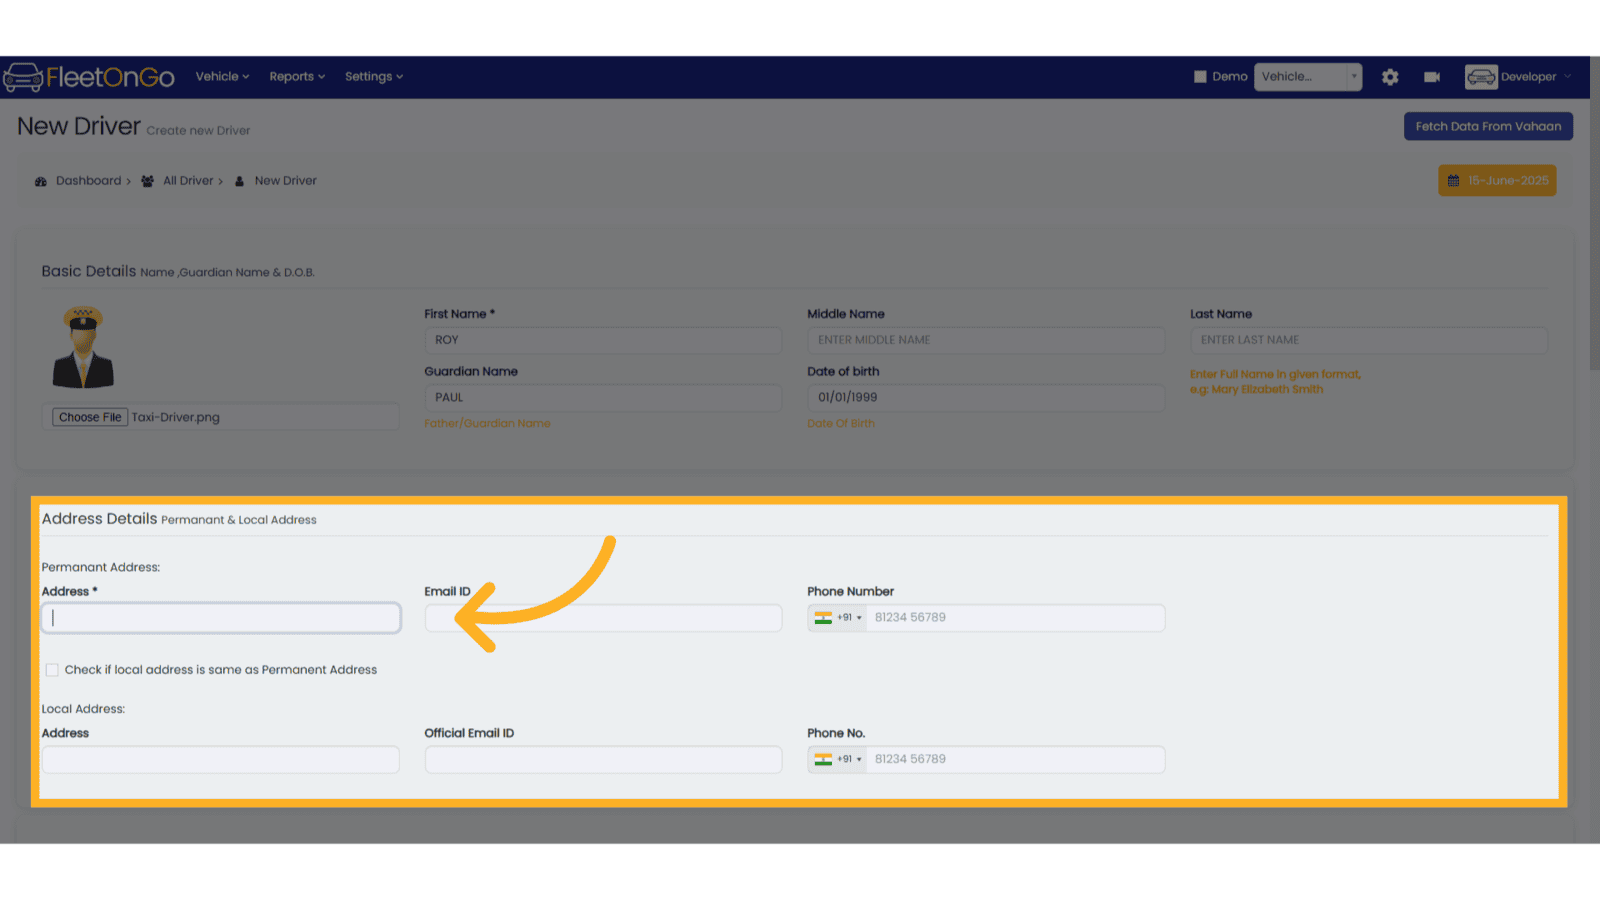
9. This is the Address Section
This is the address section of Driver's Profile.
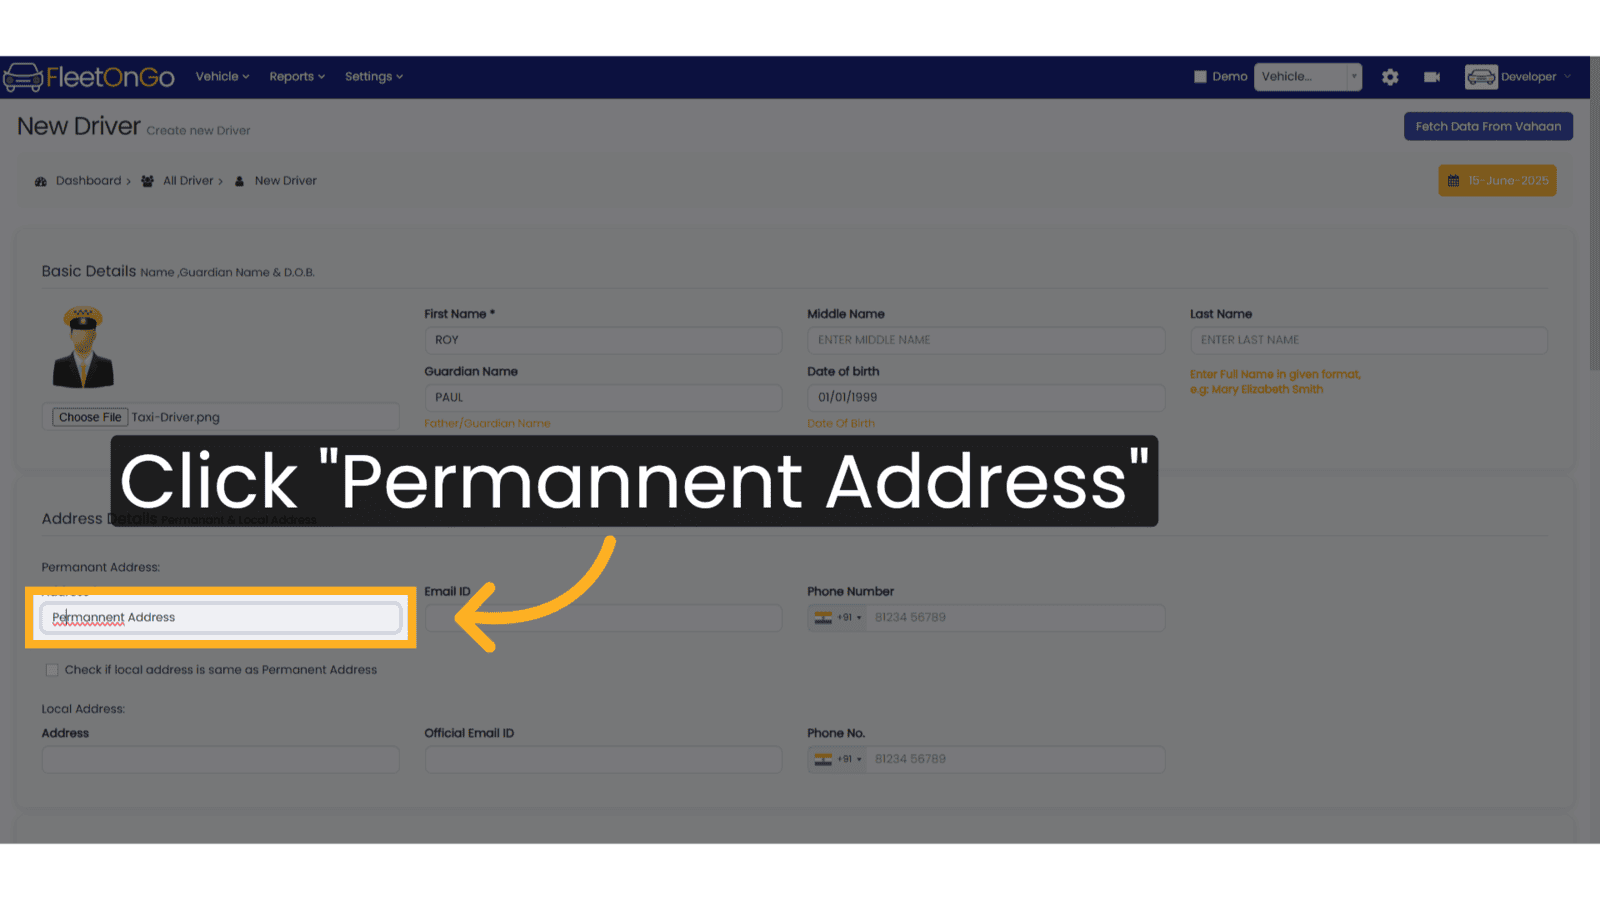
10. Enter the Permanent Address
Enter the Permanent Address of Driver
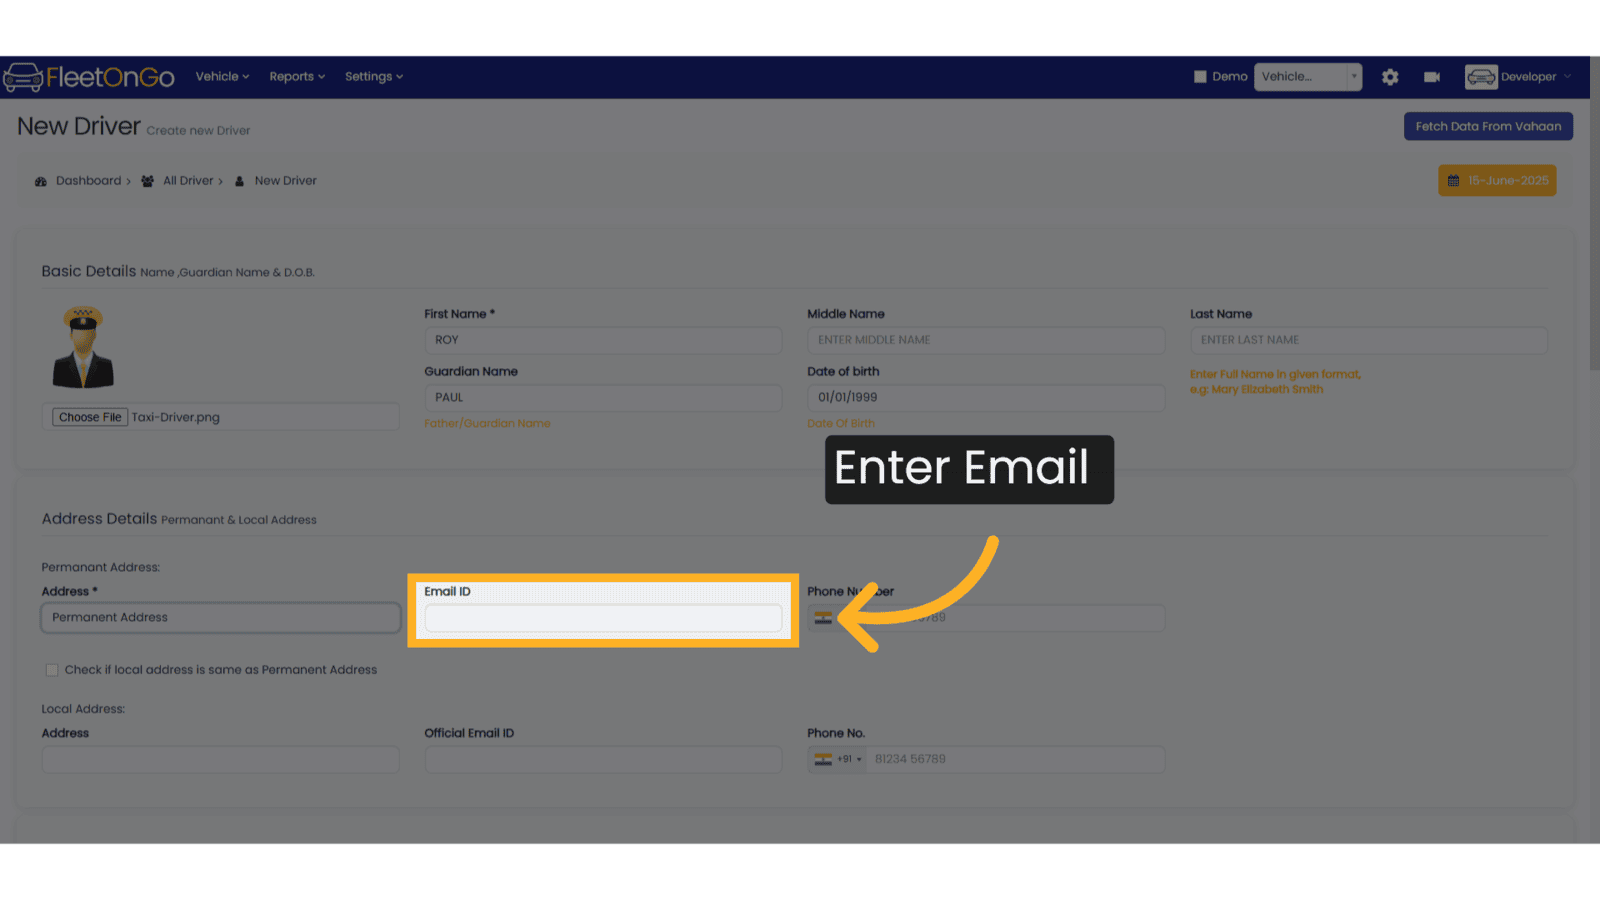
11. Permanent Email
Enter Permanent Email Address
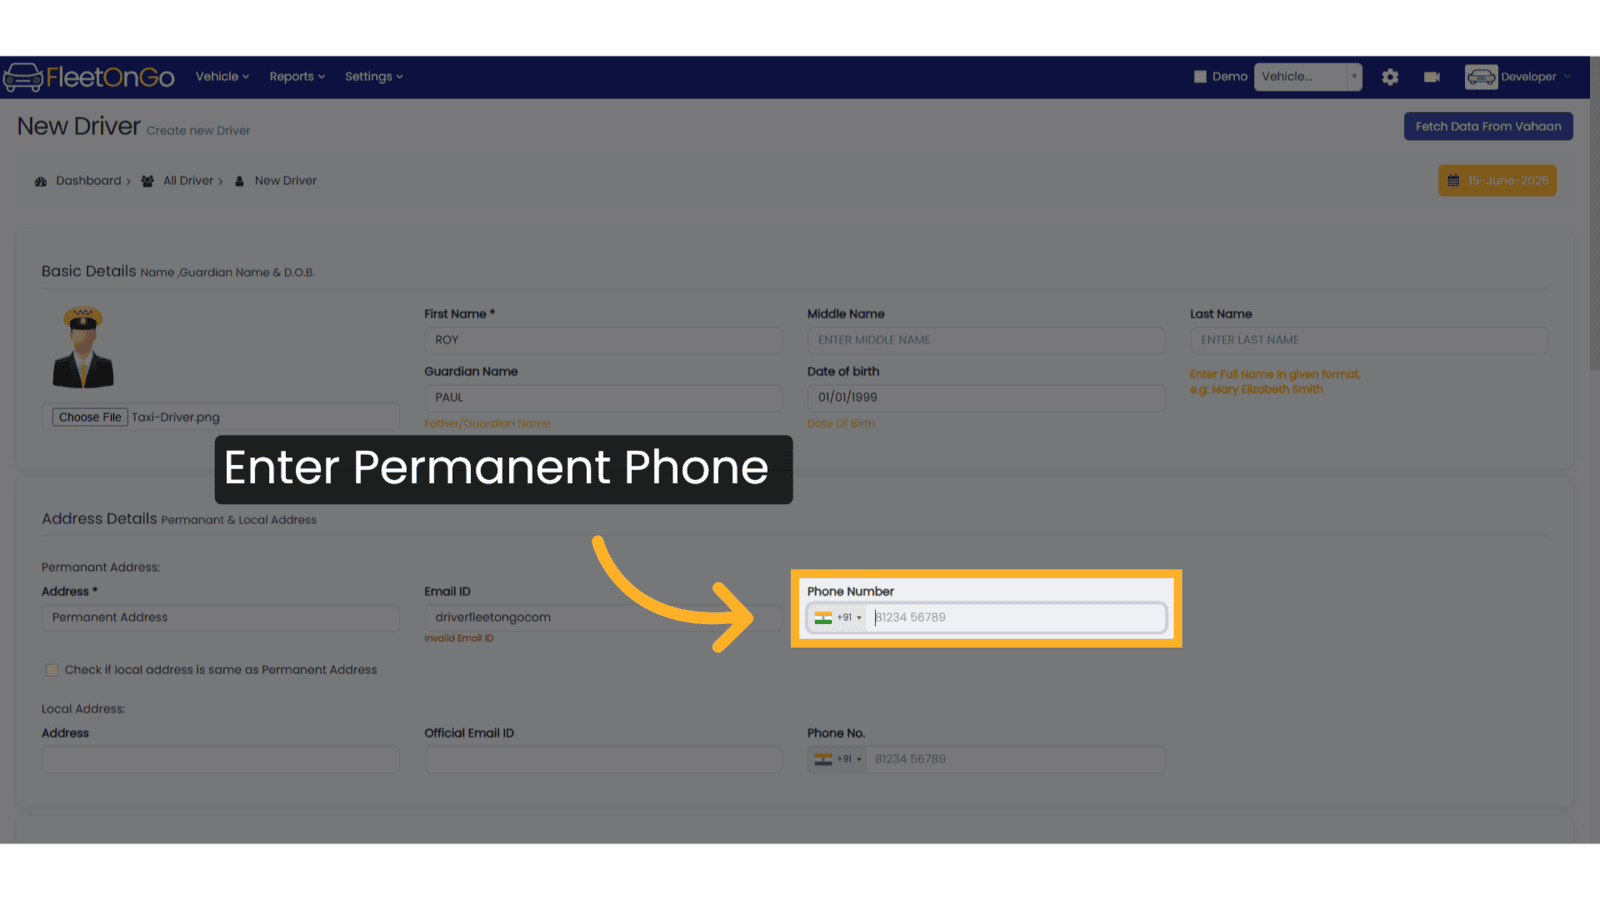
12. Permanent Contact Number
Enter the Permanent Contact Number of Driver
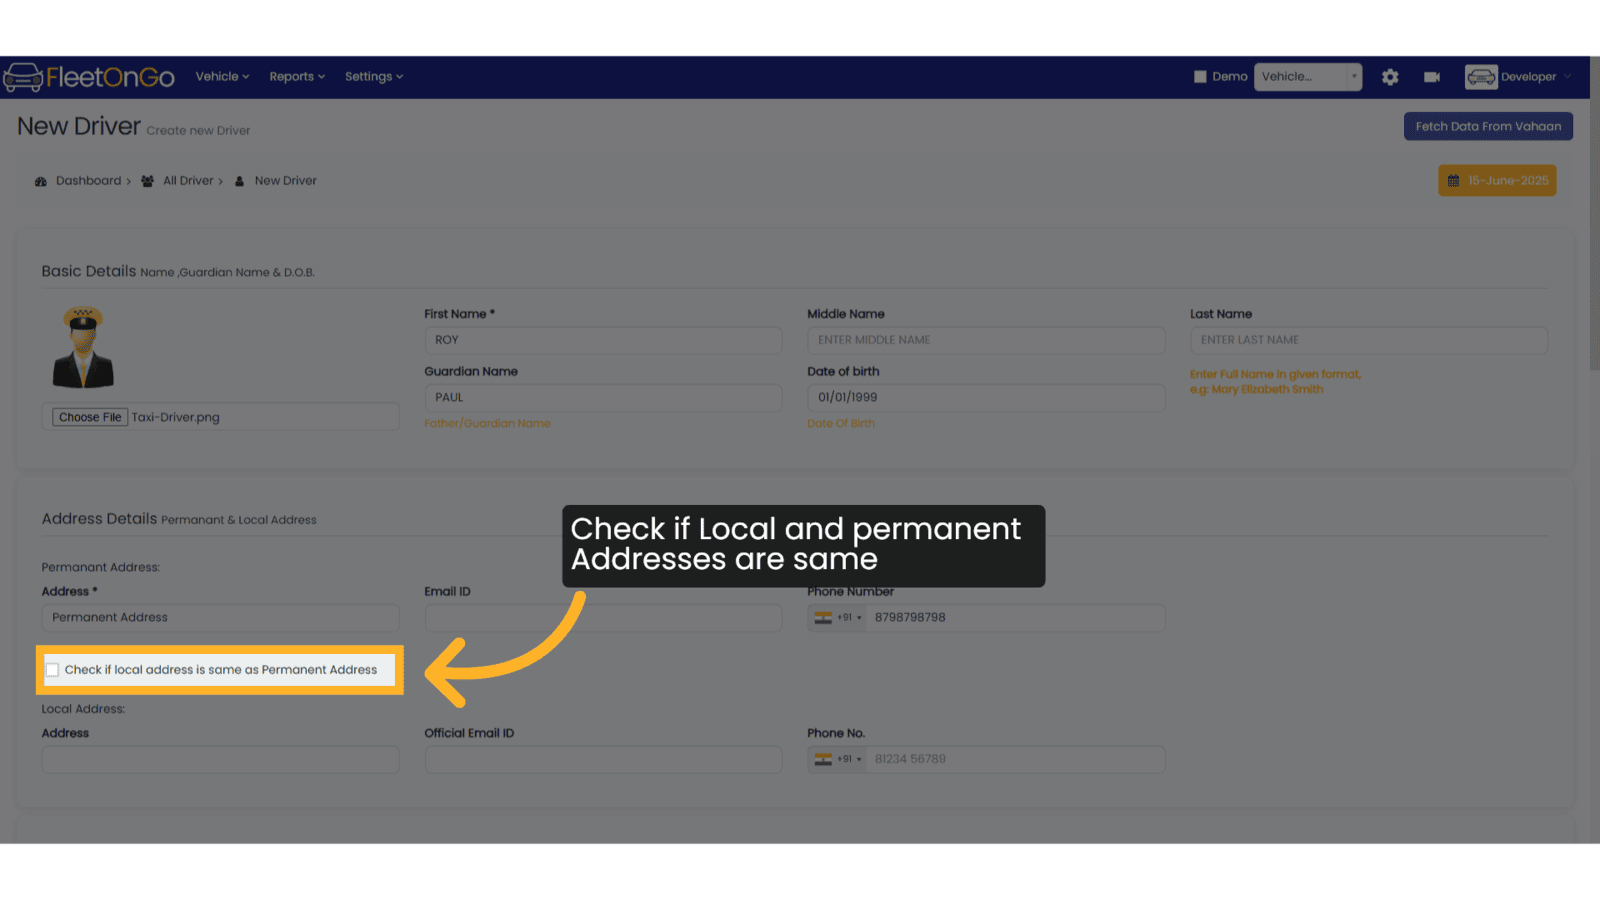
13. Check here if the Local Address is same as Permanent Address
Check here if the Local Address is same as Permanent Address
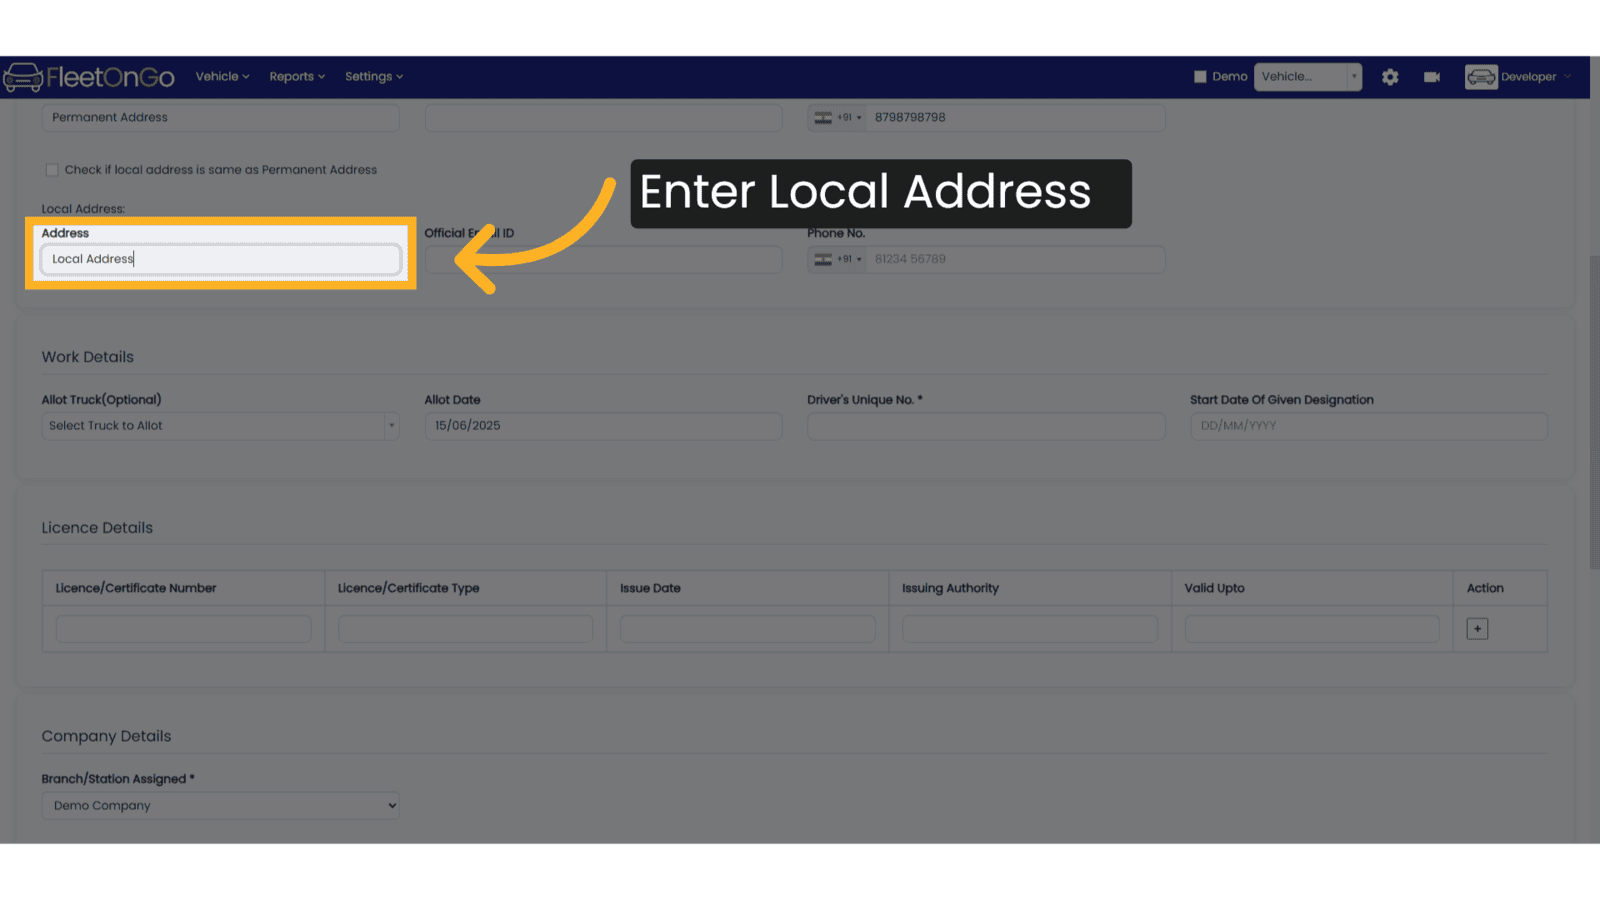
14. Enter Local Address
Enter the local address information.
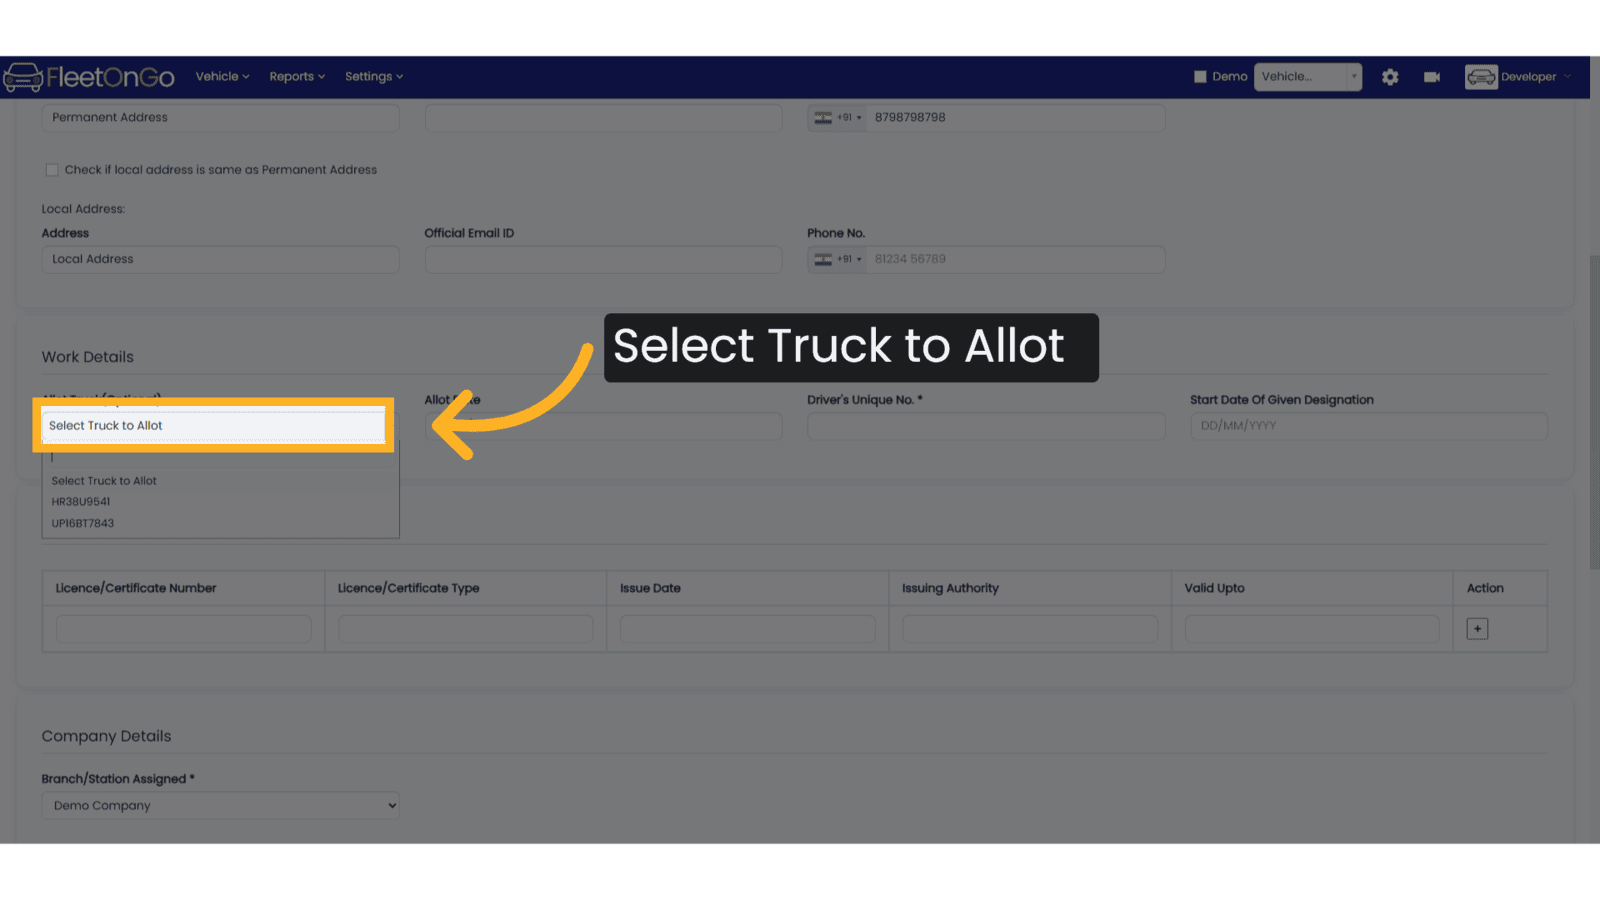
15. Allot Vehicle to Driver
To Allot an unassigned vehicle to this driver, you may select a vehicles from the list.
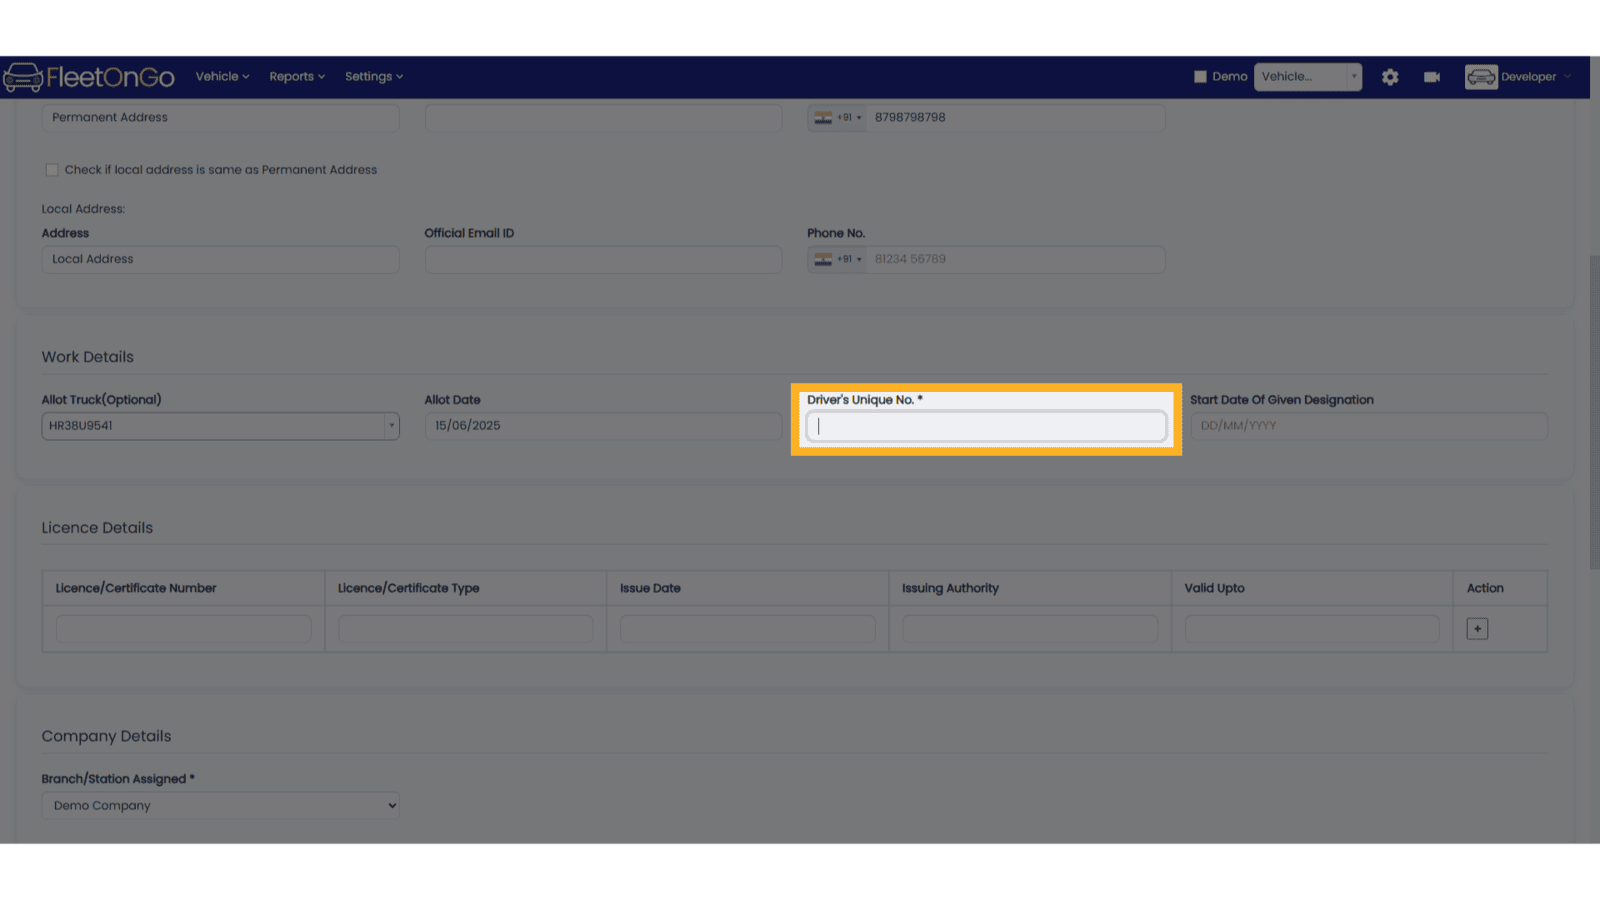
16. Enter Driver Unique No *
Enter the unique number of the driver. This could be Employee number or any other unique code to identify Driver.
17. Enter Start Date of Given Designation
Enter Start Date of Given Designation

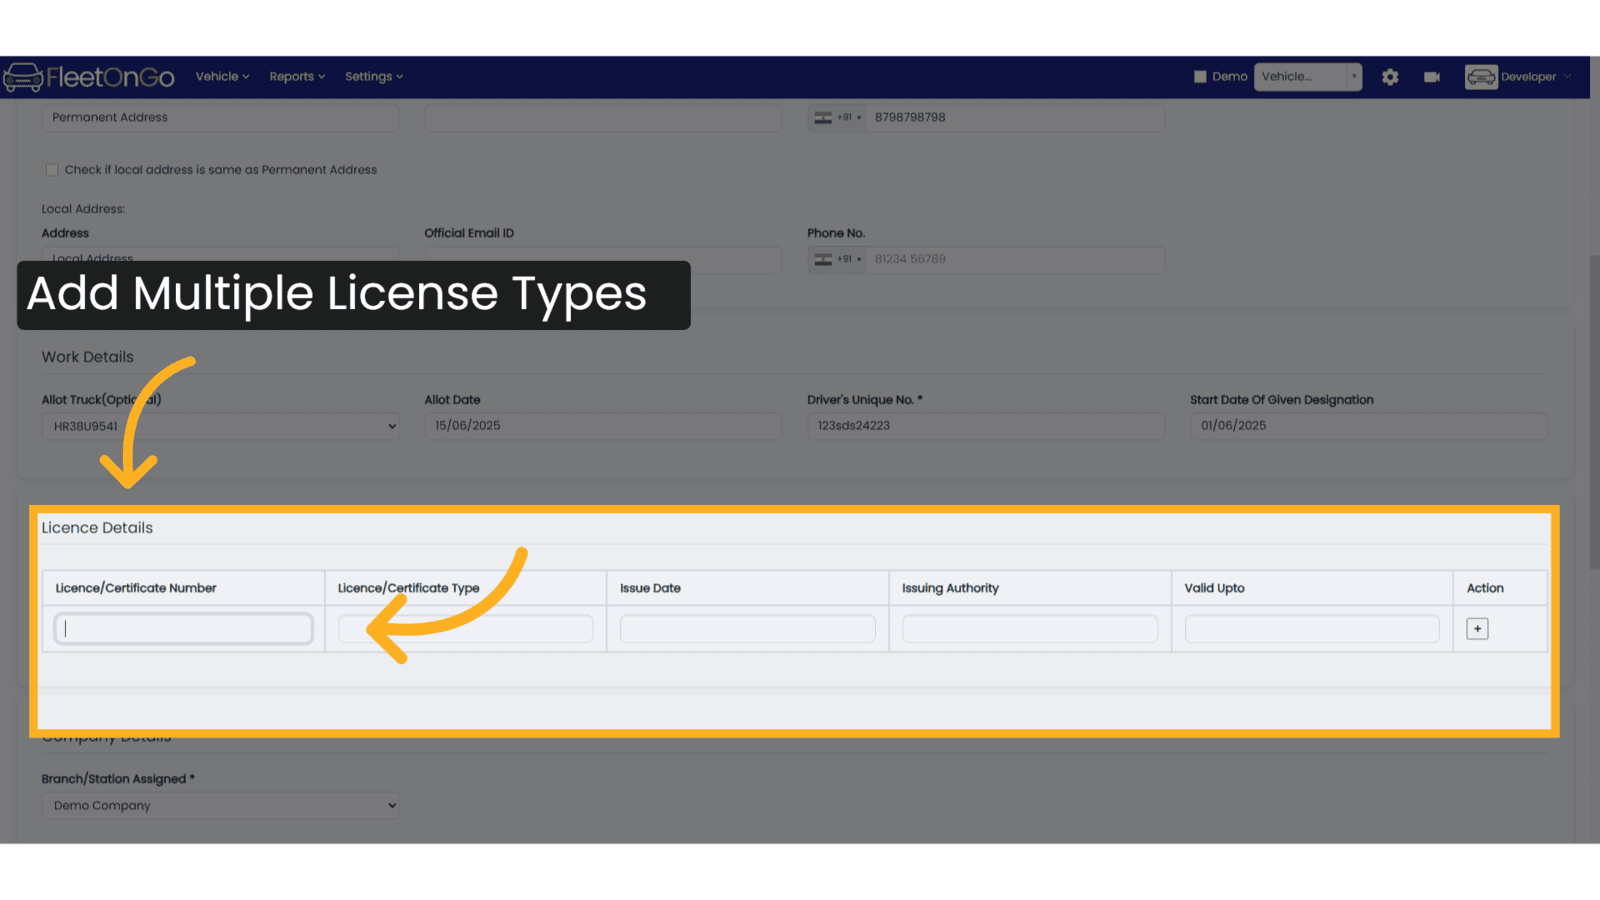
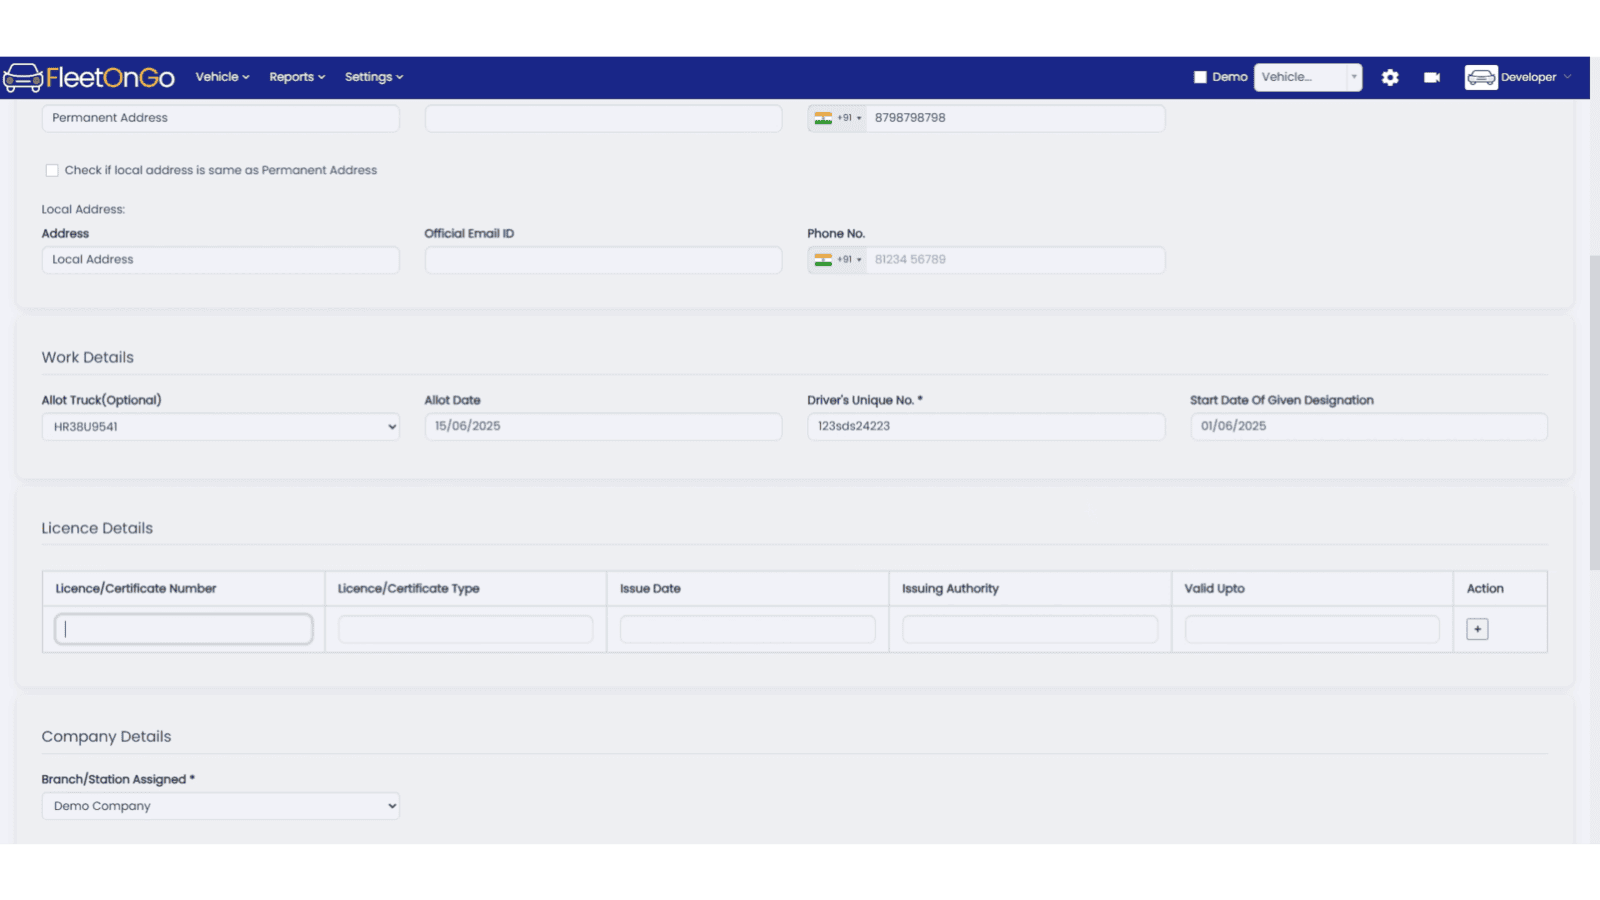
18. License Details
You can add multiple license types for a single Driver here.
19. Enter License Number
Enter License Number
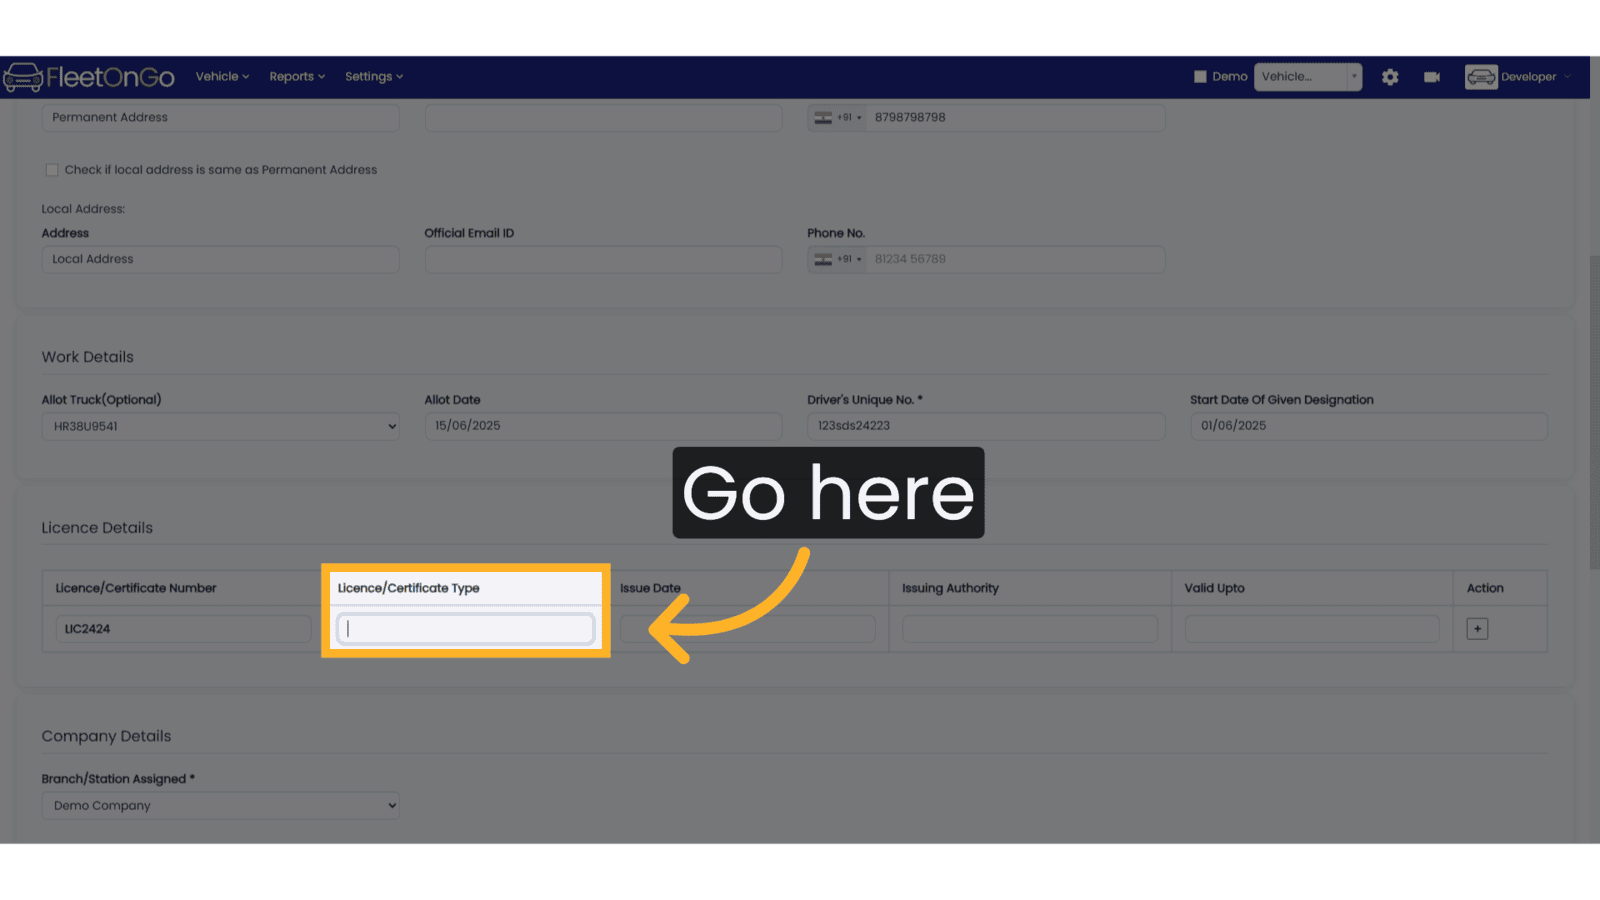
20. Enter License Type
Enter License Type
21. Enter Issue Date
Select License Issue Date from Calendar

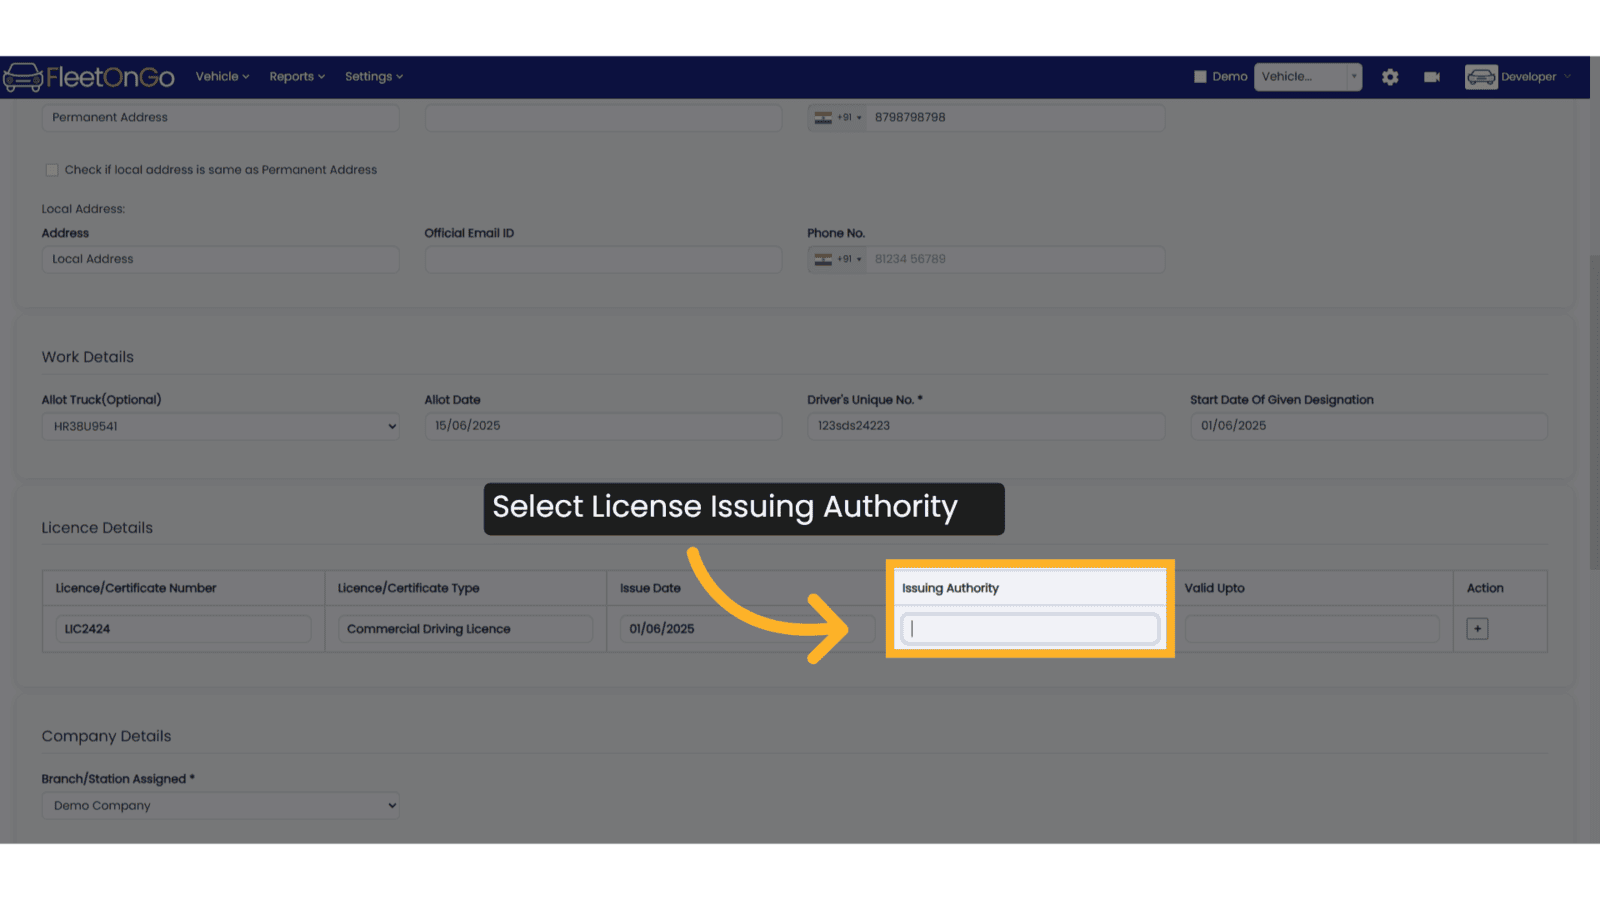
22. Enter License Issuing Authority
Enter the License issuing authority name.
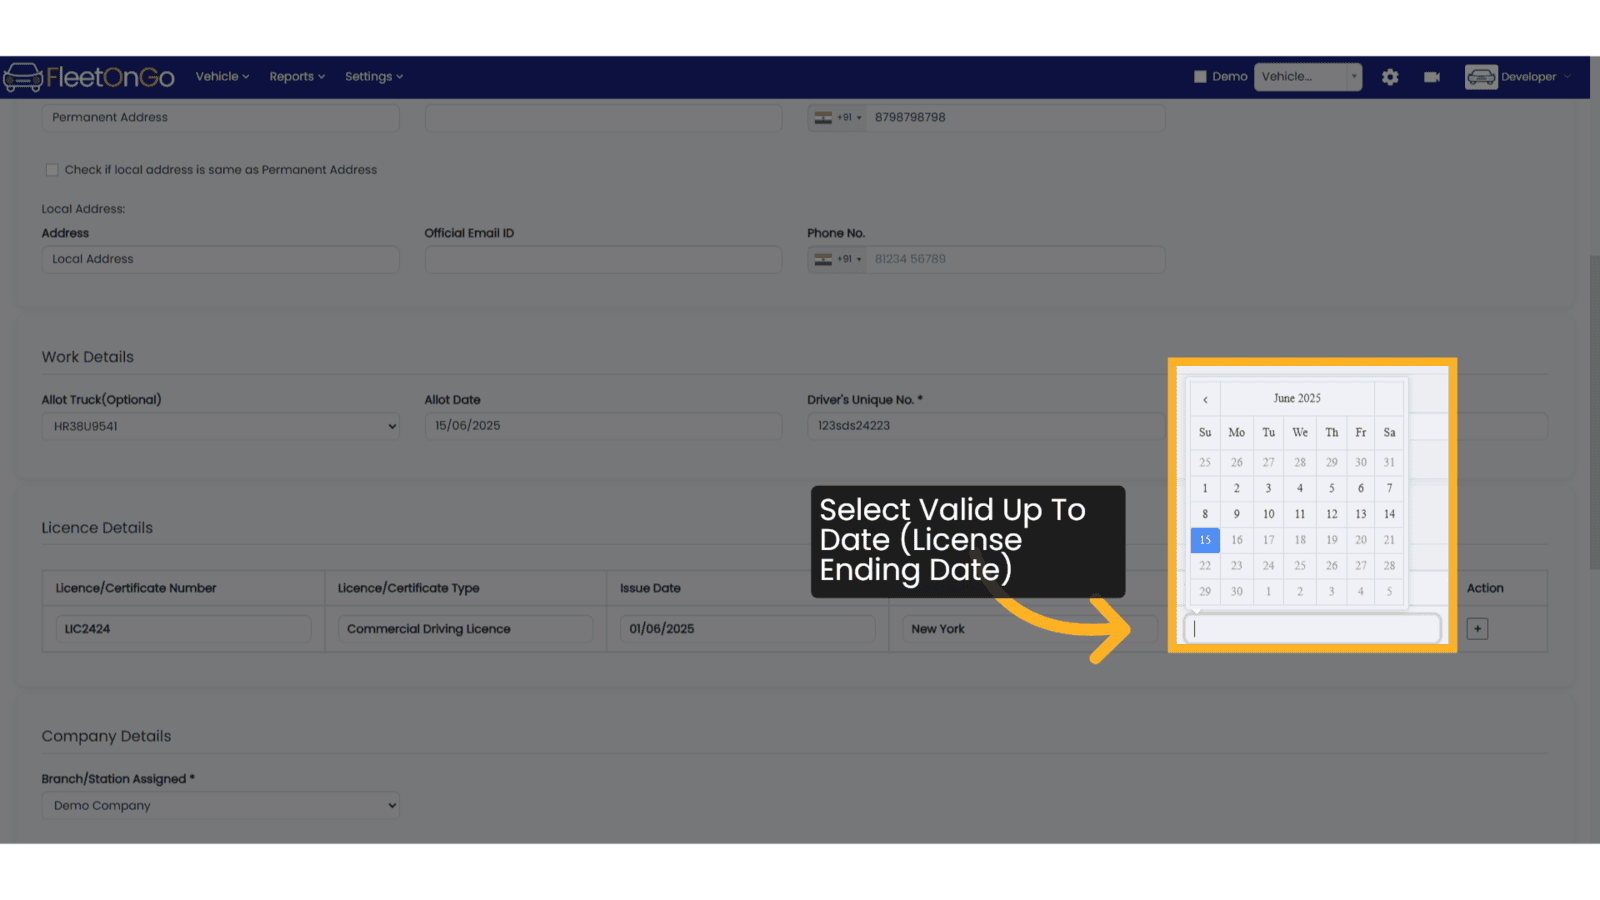
23. Select License Valid Up to
Select License Valid Up to from the Calendar. On this date the validity of the License will expire
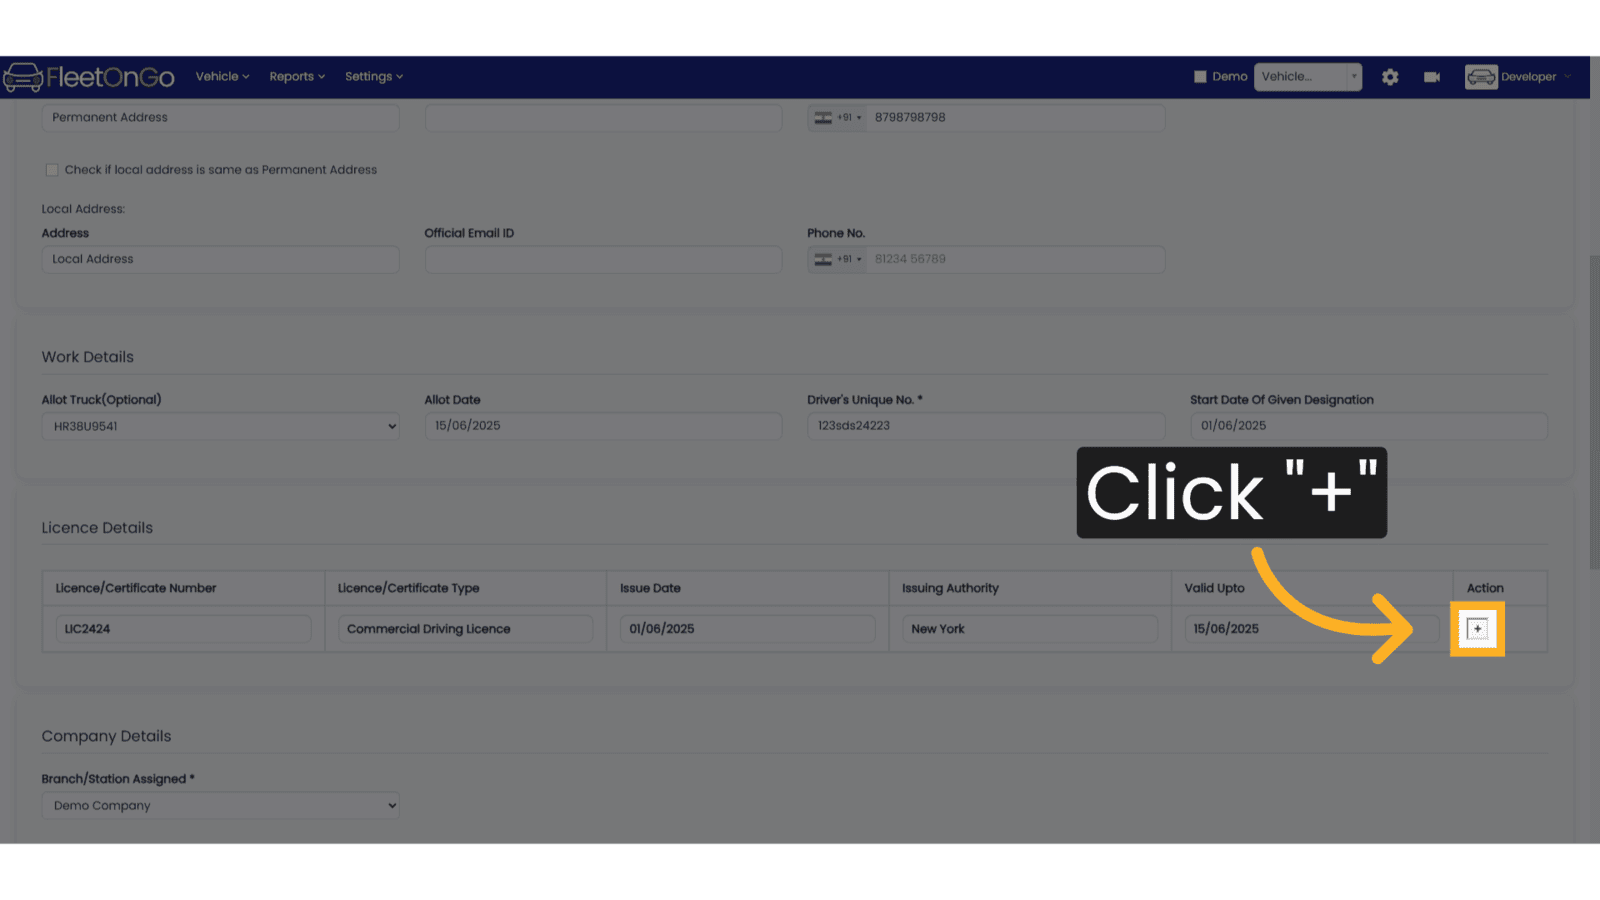
24. Click on the Plus Button
Click on the Plus button to add License details added in a row. This is an important step.
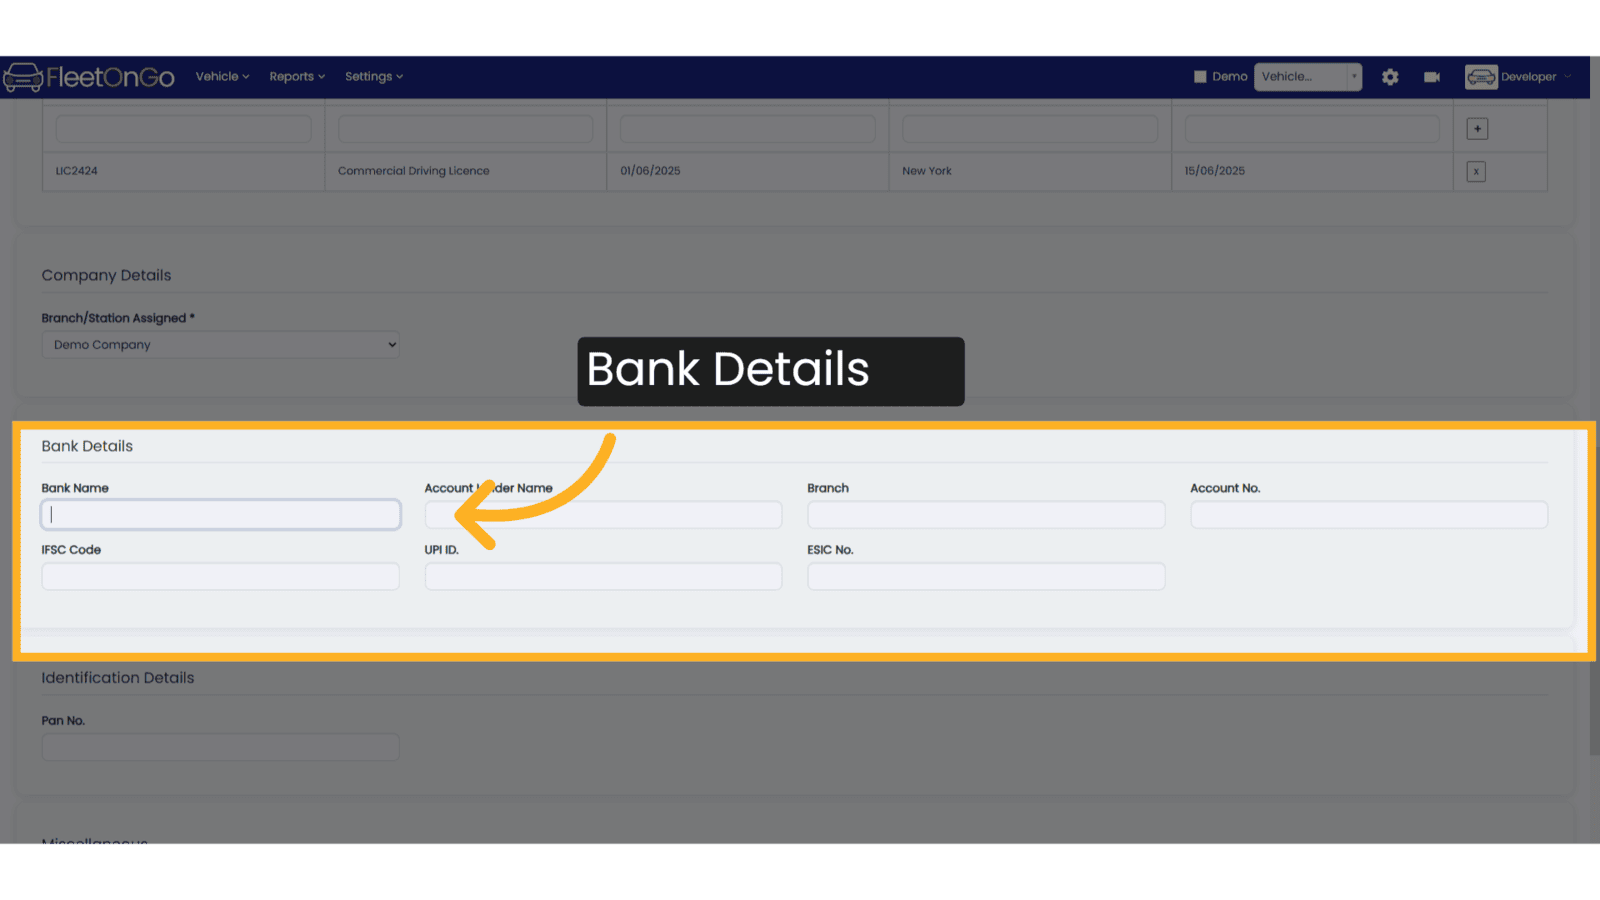
25. Add Bank Details of Drivers
From this section you may add Bank Details of Drivers
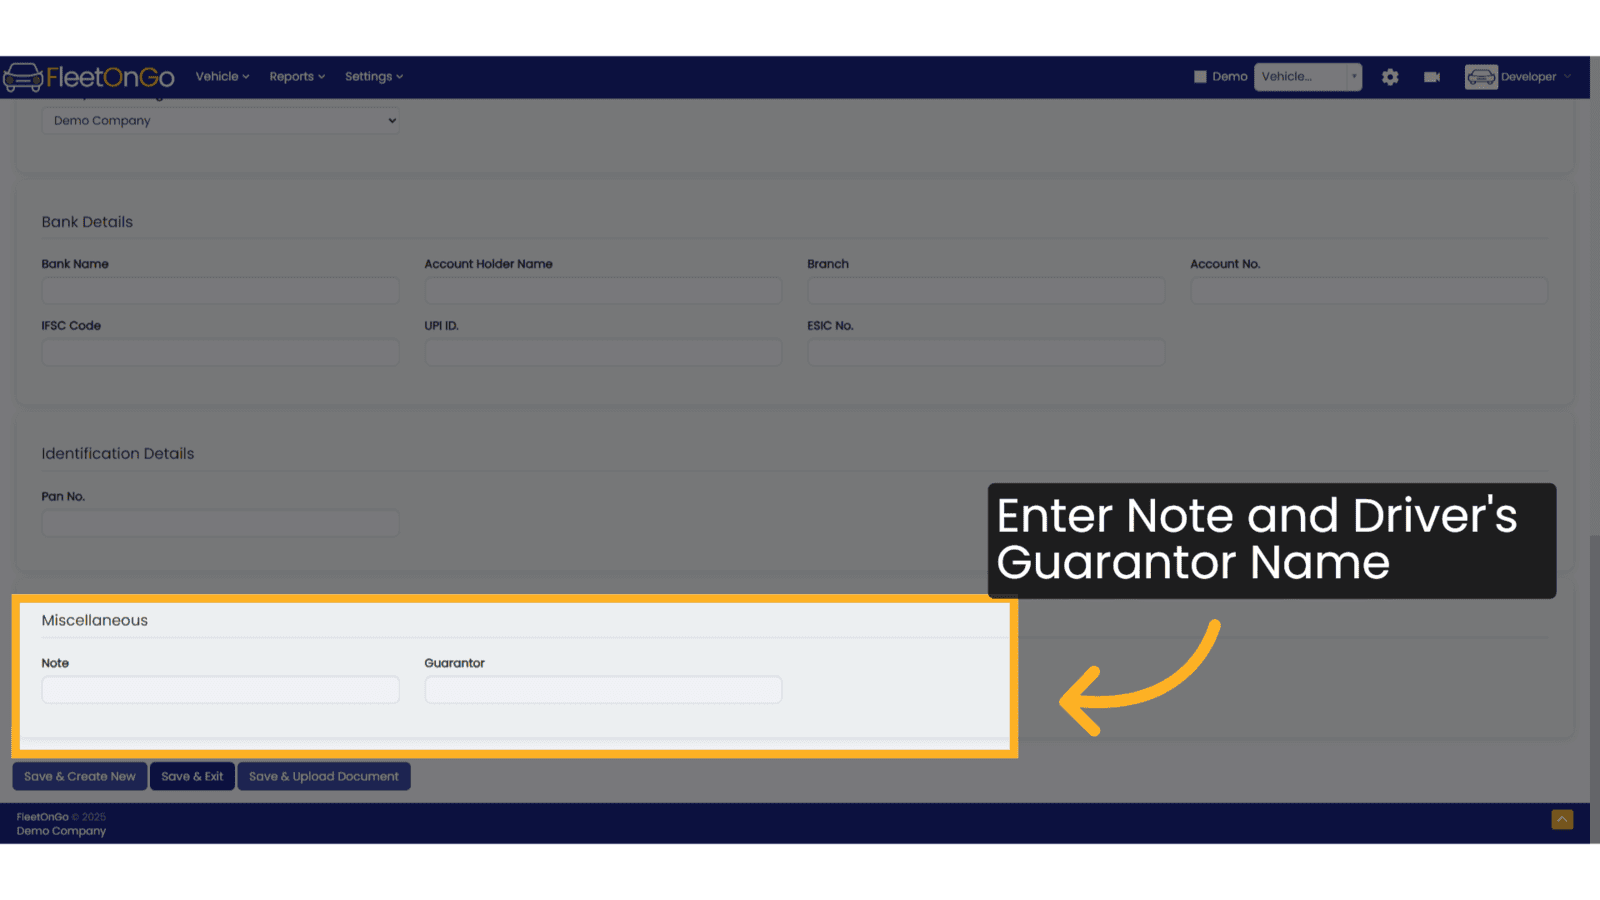
26. Add Miscellaneous Details
Enter Note and Name of Guarantor of the driver in this section
27. Click Save & Create New
Click on Save and create new if you want to add more divers

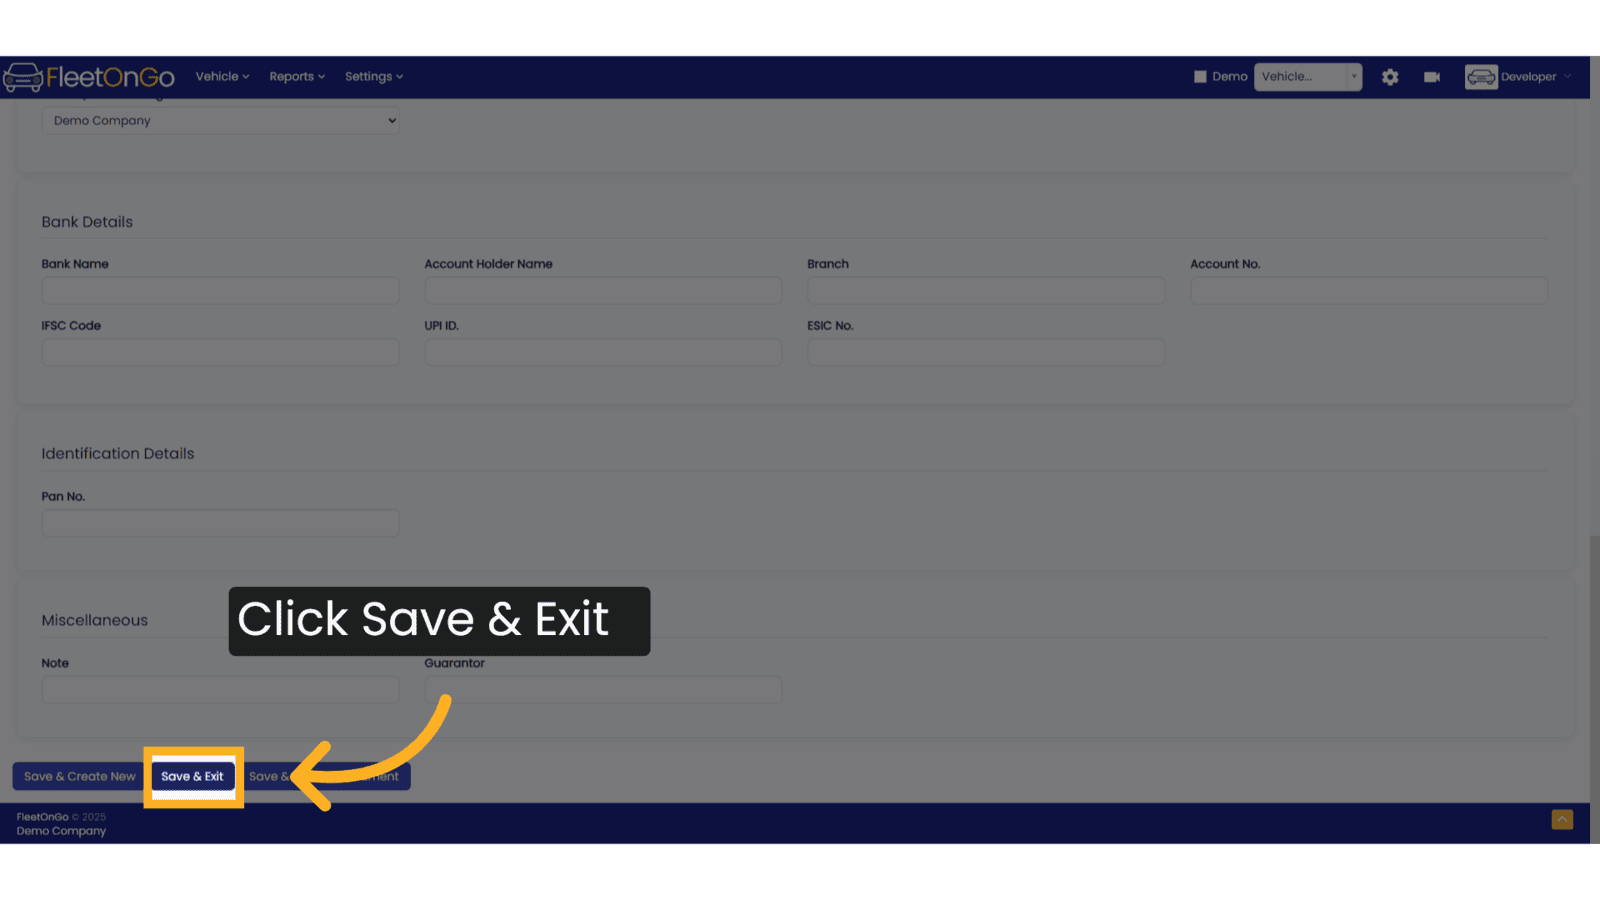
28. Click Save & Exit
Click on Save and Exit if you do not want to add more divers
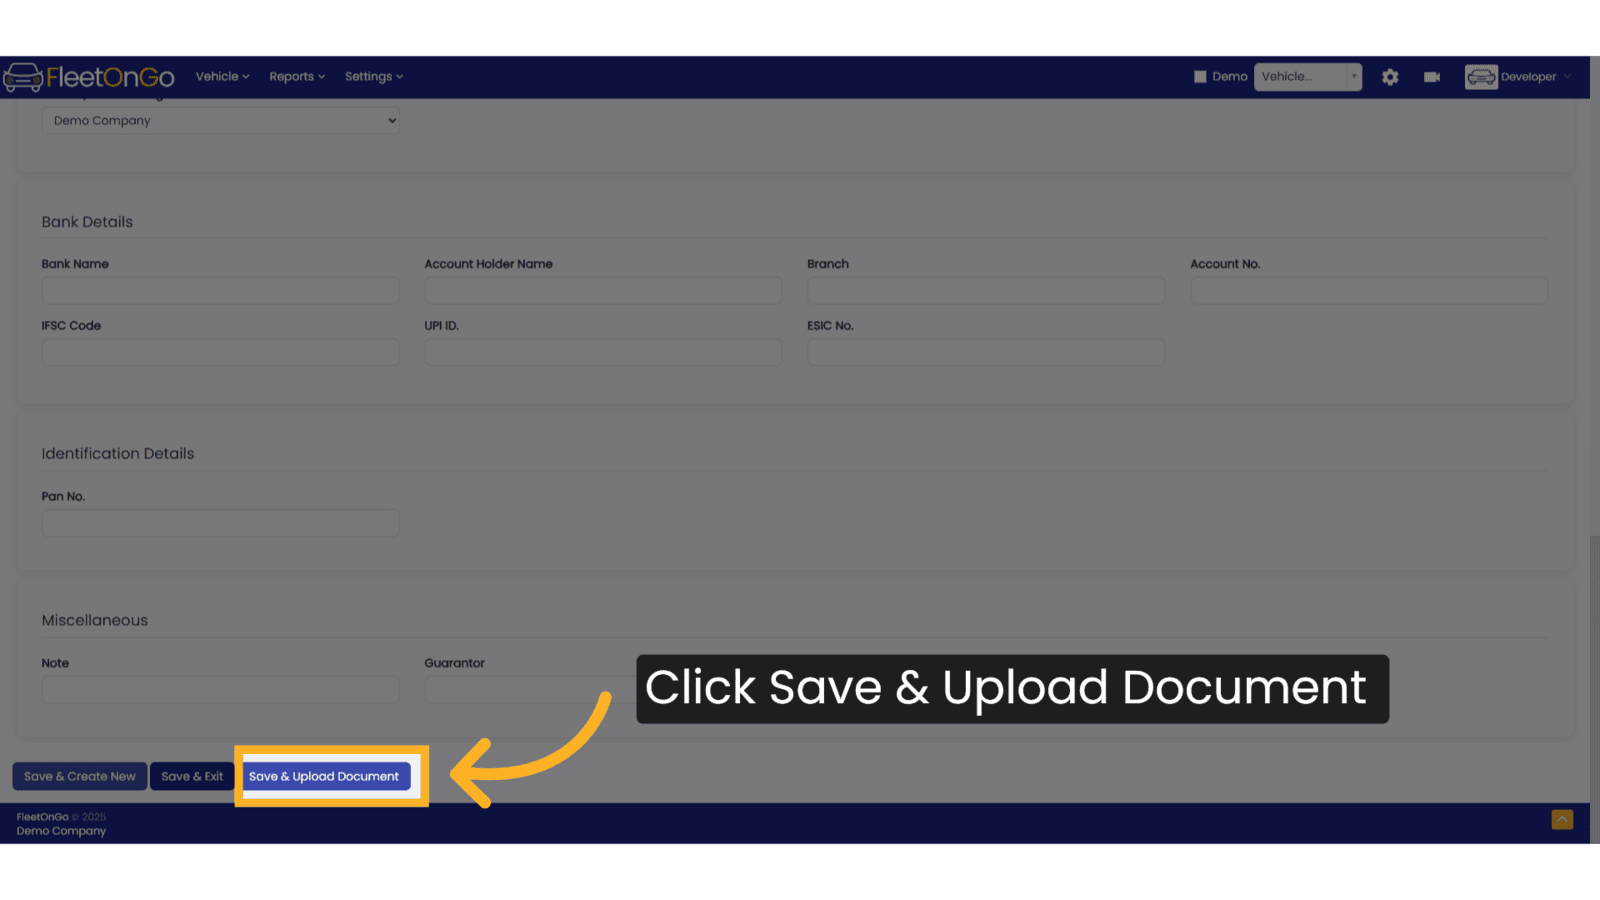
29. Click Save & Upload Documents
Click on Save and Upload Documents if you do not want to add Documents of Driver like Driver License, Identity Proofs etc.
The guide covered the step-by-step process of adding a new driver in Fleetongo, including selecting dates, entering contact information, assigning a truck, and saving the changes efficiently.
Related Articles
Archived Driver
Archived Driver The new Archived Driver feature in Fleetongo is designed for fleet managers seeking to optimize their operations Go to app.fleetongo.com 1. Click "Archived Drivers" Click the vehicle and then Home to navigate to the Archived Driver. ...Existing Driver
Existing Driver The new feature for checking existing drivers in Fleetongo is designed for fleet managers seeking to streamline driver management Go to app.fleetongo.com 1. Click Vehicle Click the vehicle and then Driver to navigate to the Existing ...Stock New Parts
Stock new Parts Discover the new "Stock New Parts" feature in Fleetongo. Go to app.fleetongo.com 1. Click "Stock(New Parts)" Click on 'Reports', go to 'Spare Parts', then select Stock new parts 2. Click here Click here to expand the section 3. Fill ...Add New User
User Management Introducing the User management in fleetonGo. Go to app.fleetongo.com 1. Click "settings" Access the settings section to manage user accounts. 2. Click "Add New User" Initiate the New user creation process. 3. Fill Basic Details Enter ...Vehicle Wise Driver History
Vehicle Wise Driver History Fleetongo’s Vehicle Wise Driver History feature is designed for fleet managers. Go to app.fleetongo.com 1. Click "Vehicle Wise Driver History" Go to Reports, click on Vehicle, and navigate to Vehicle-wise Driver History. ...